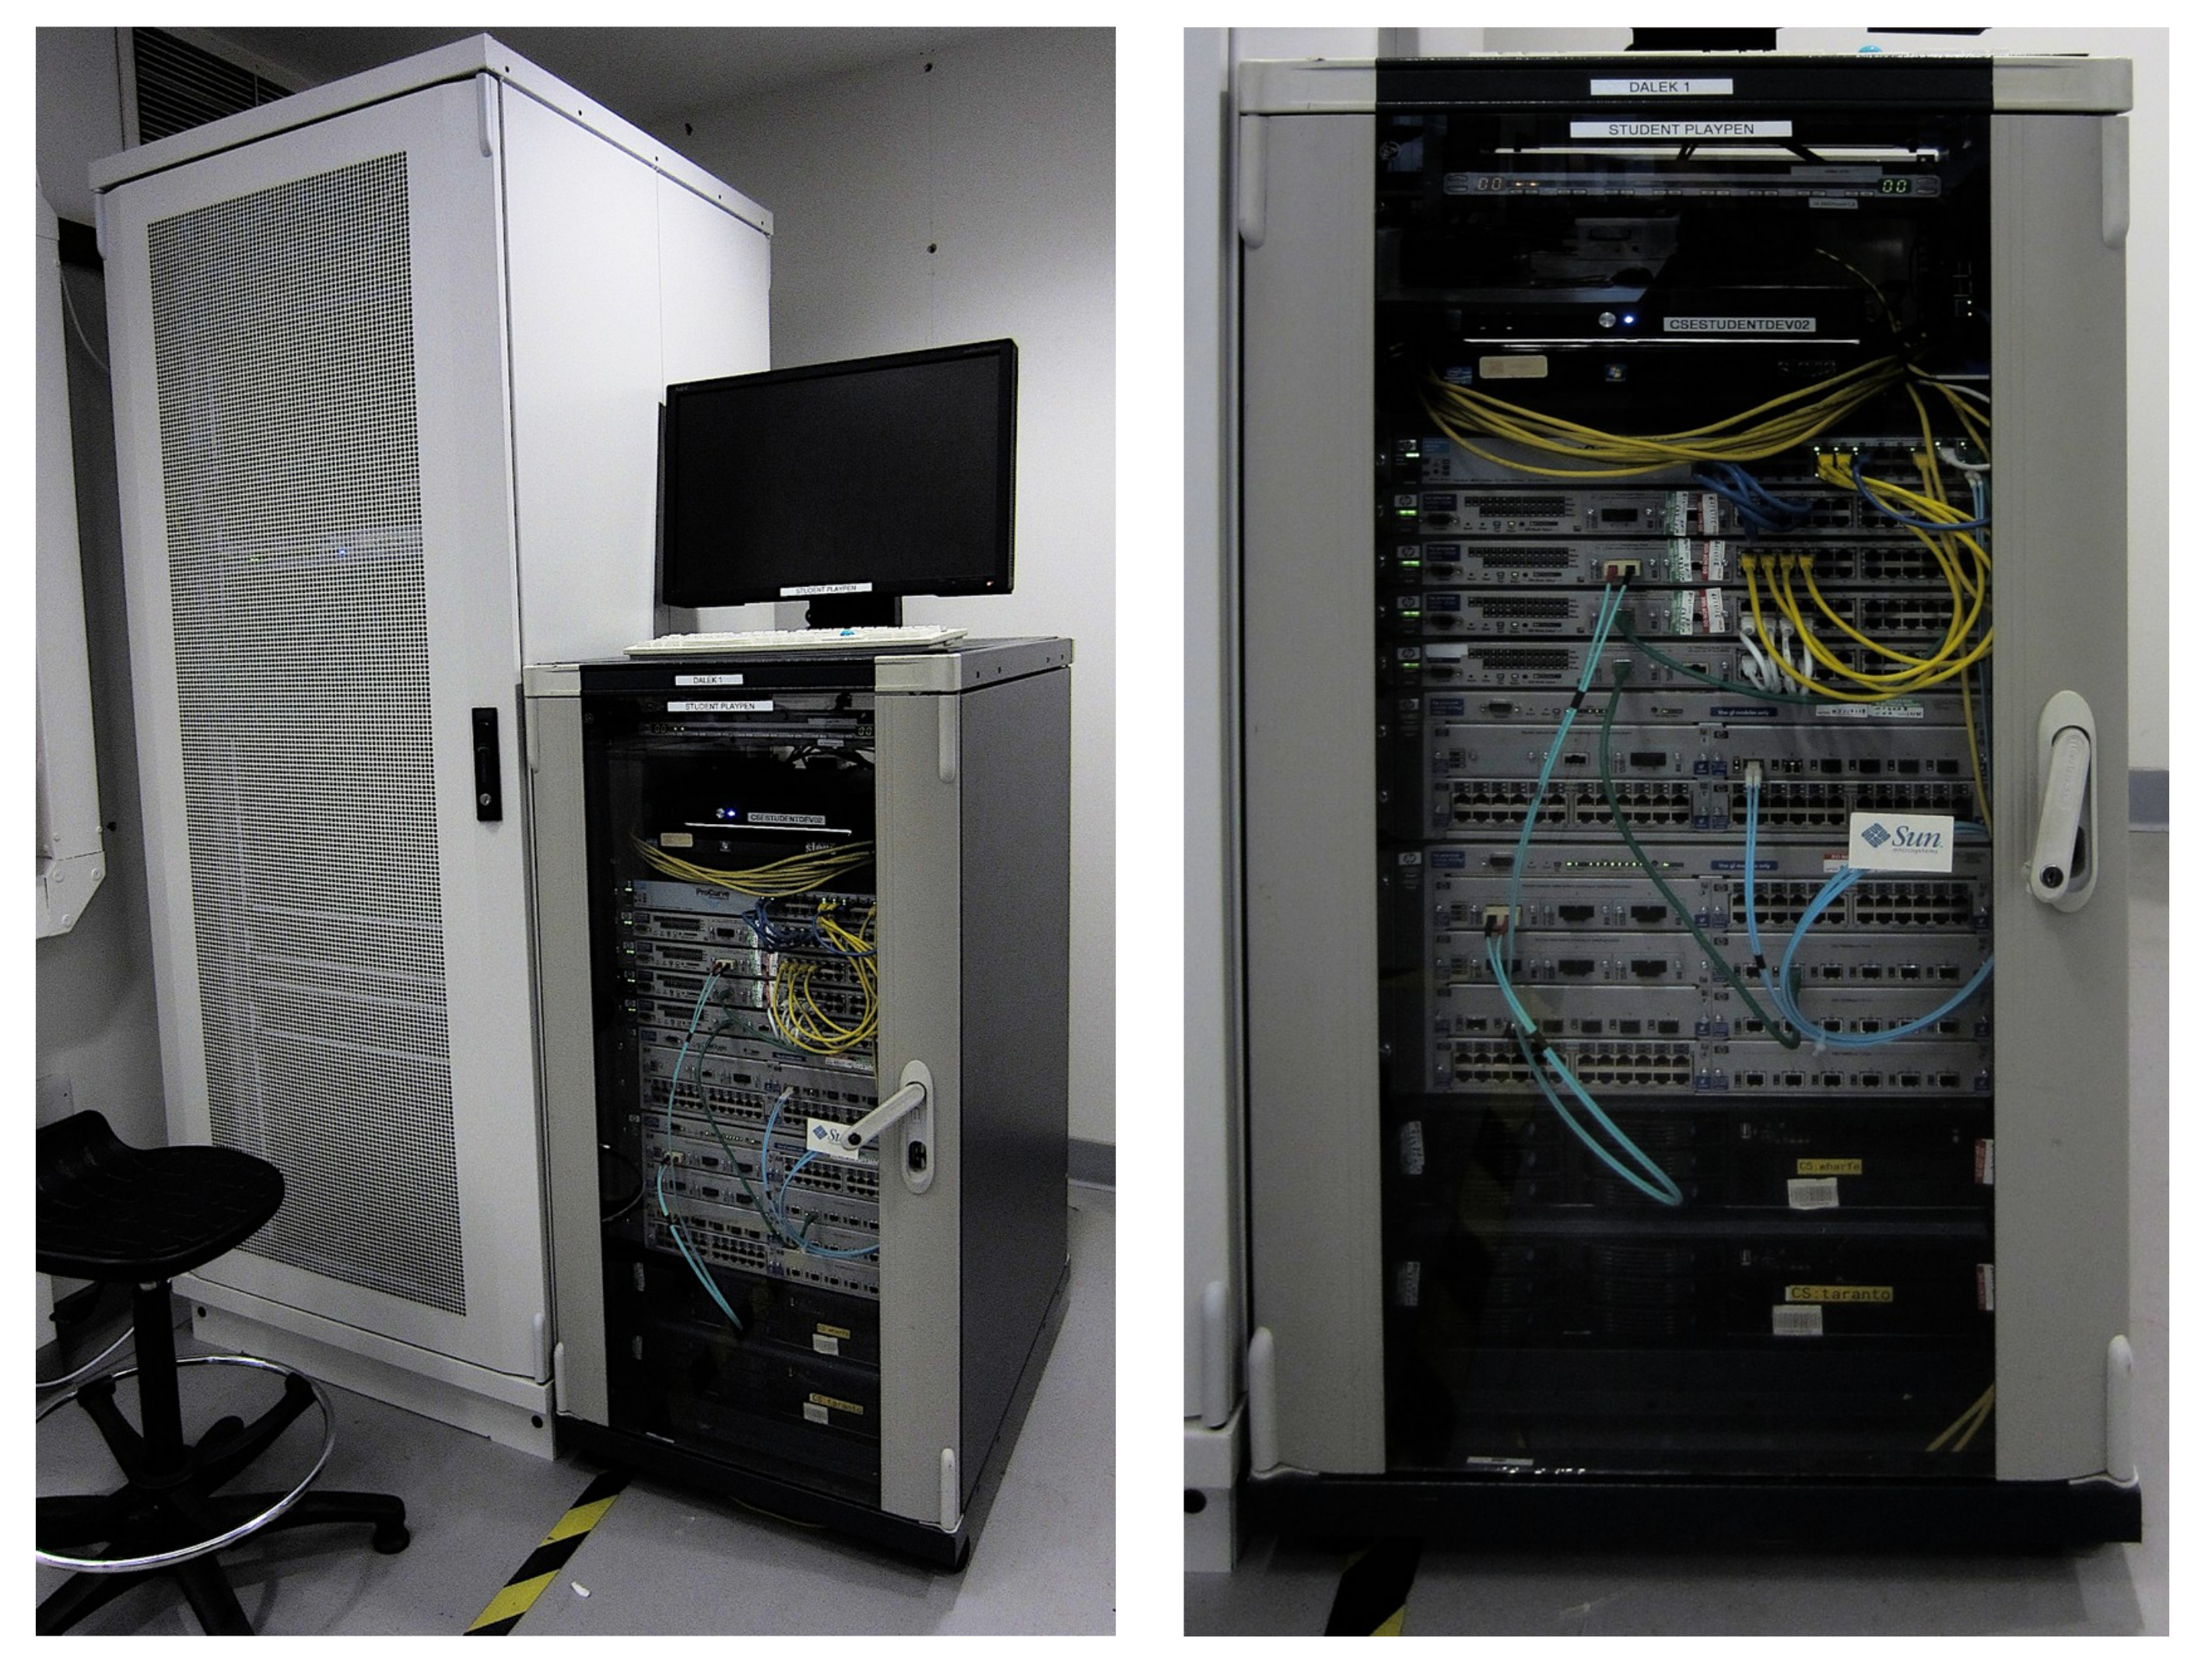
Figure 1 : play-pen rack
The play-pen rack came about from the recent building reorganisation i.e. the Maths department moving in. This forced the department to have a hard look at space, or the lack of it, soooo as a result we had a clear out. In the process of "tidying" i found an old 19-inch server rack and a collection of old switches. These are really old switches, 100Mbit old :). However, in many respects age and speed does not matter. What you need if you are a student trying to learn how to build and configure a network is time and equipment, a chance to play with layer-3 switches. Hence the play-pen. So this rack is not used in normal labs, rather its purpose is to allow students looking to move into a networking career the chance to develop their CVs with this knowledge and skills etc. Note, this is a student managed machine, do use and break, if you find it bricked just let me know and i will factory rest for you :)
In SYS2 (NET) students use a dumb layer-2 switch. A layer-3 switch is a switch with a little bit of "router" mixed into its DNA. Like any switch their primary function is to connect hosts together i.e. to create your Local Area Network (LAN). However, in larger networks its useful if some of our switches can do a bit of routing, that can support more advanced functionality VLANs, link aggregation, spanning tree protocol etc. Larger networks can be considered to be made up of three layers as shown in figure 2. These networks will typical contain:
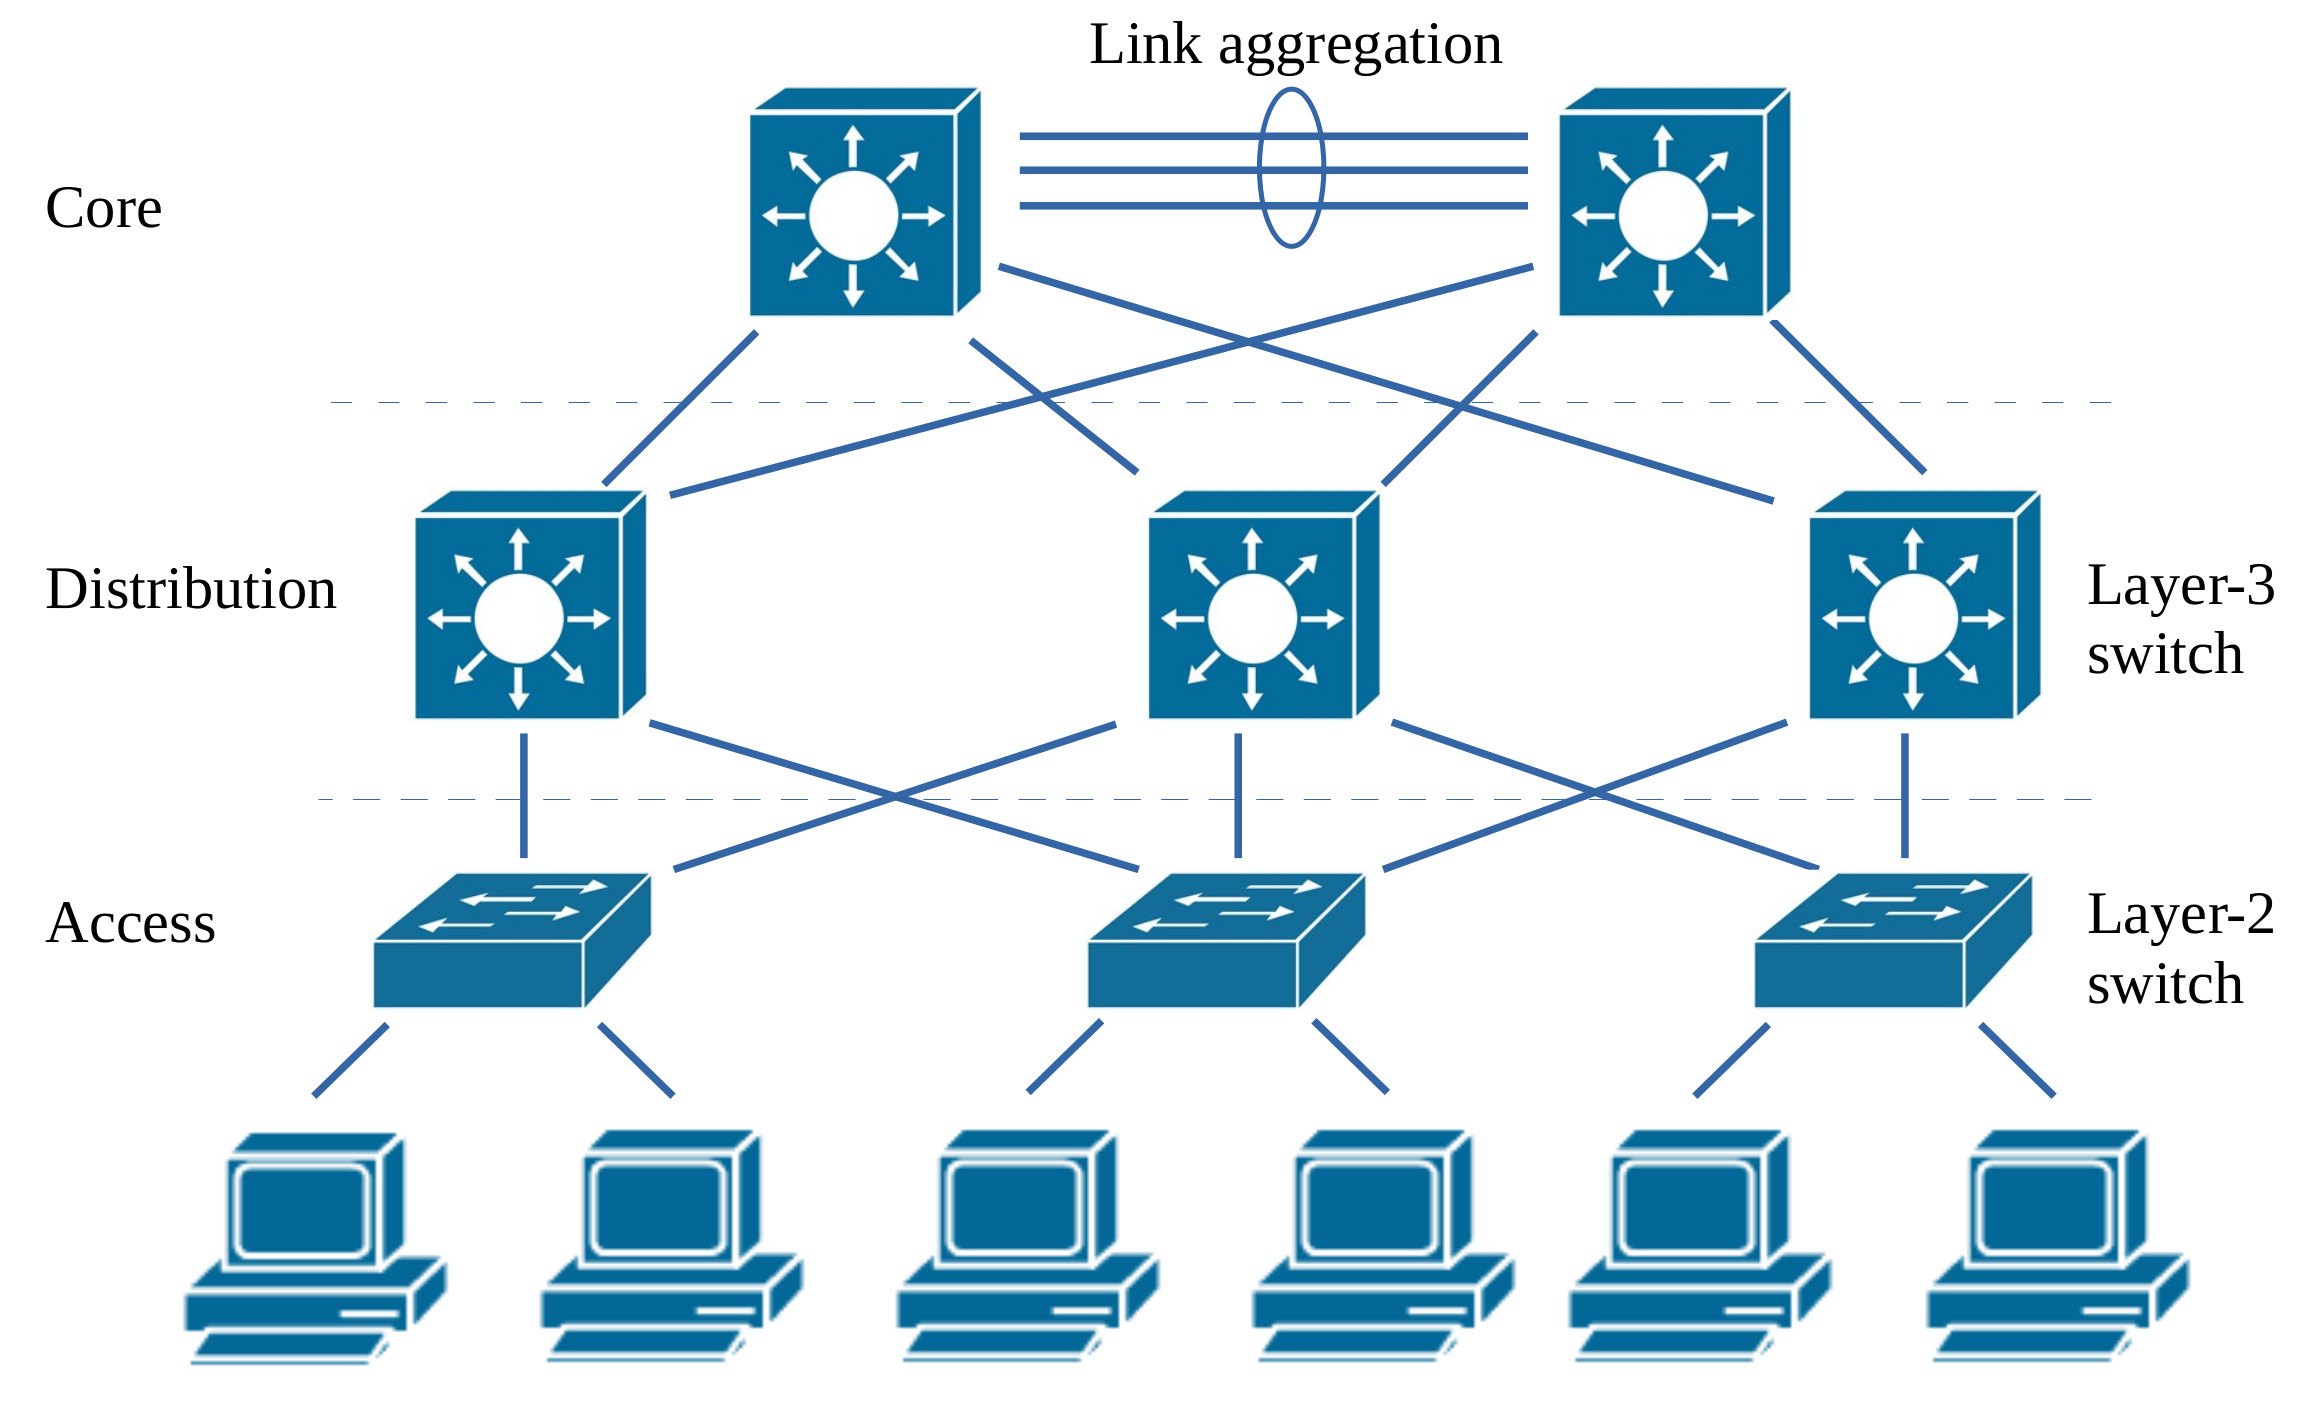
Figure 2 : network hierarchy
Sooo, to allow students to explore how to setup such networks i managed to find seven HP switches: 1 x ProCurve 2610-24, 4 x ProCurve 2524, 1 x ProCurve 4104gl and 1 x ProCurve 4108gl, as shown in figure 3. It would have been nice to have "found" some different more modern switch and routers as well, or some other brands Ciso etc, but you never know what treasures will be found in the back of the next cupboard :).
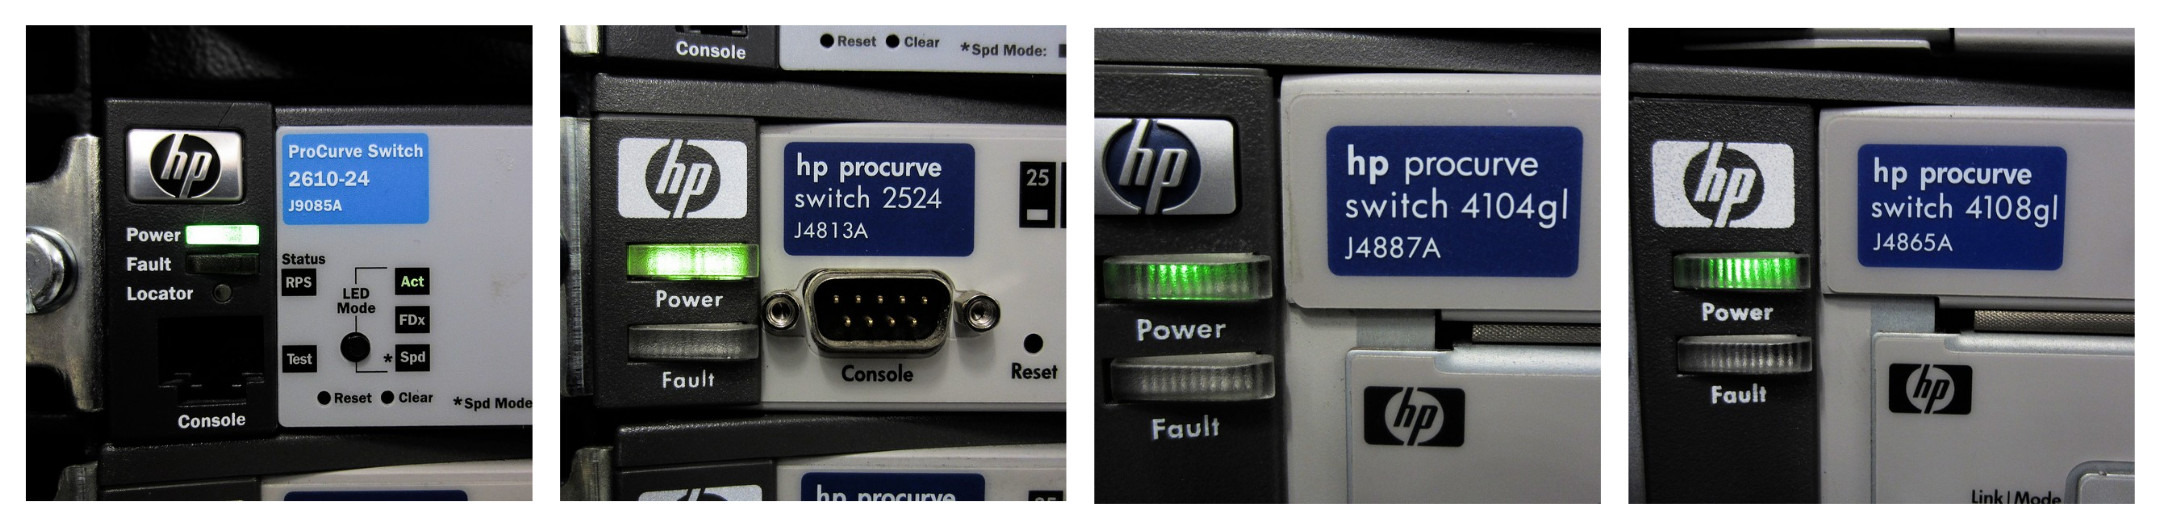
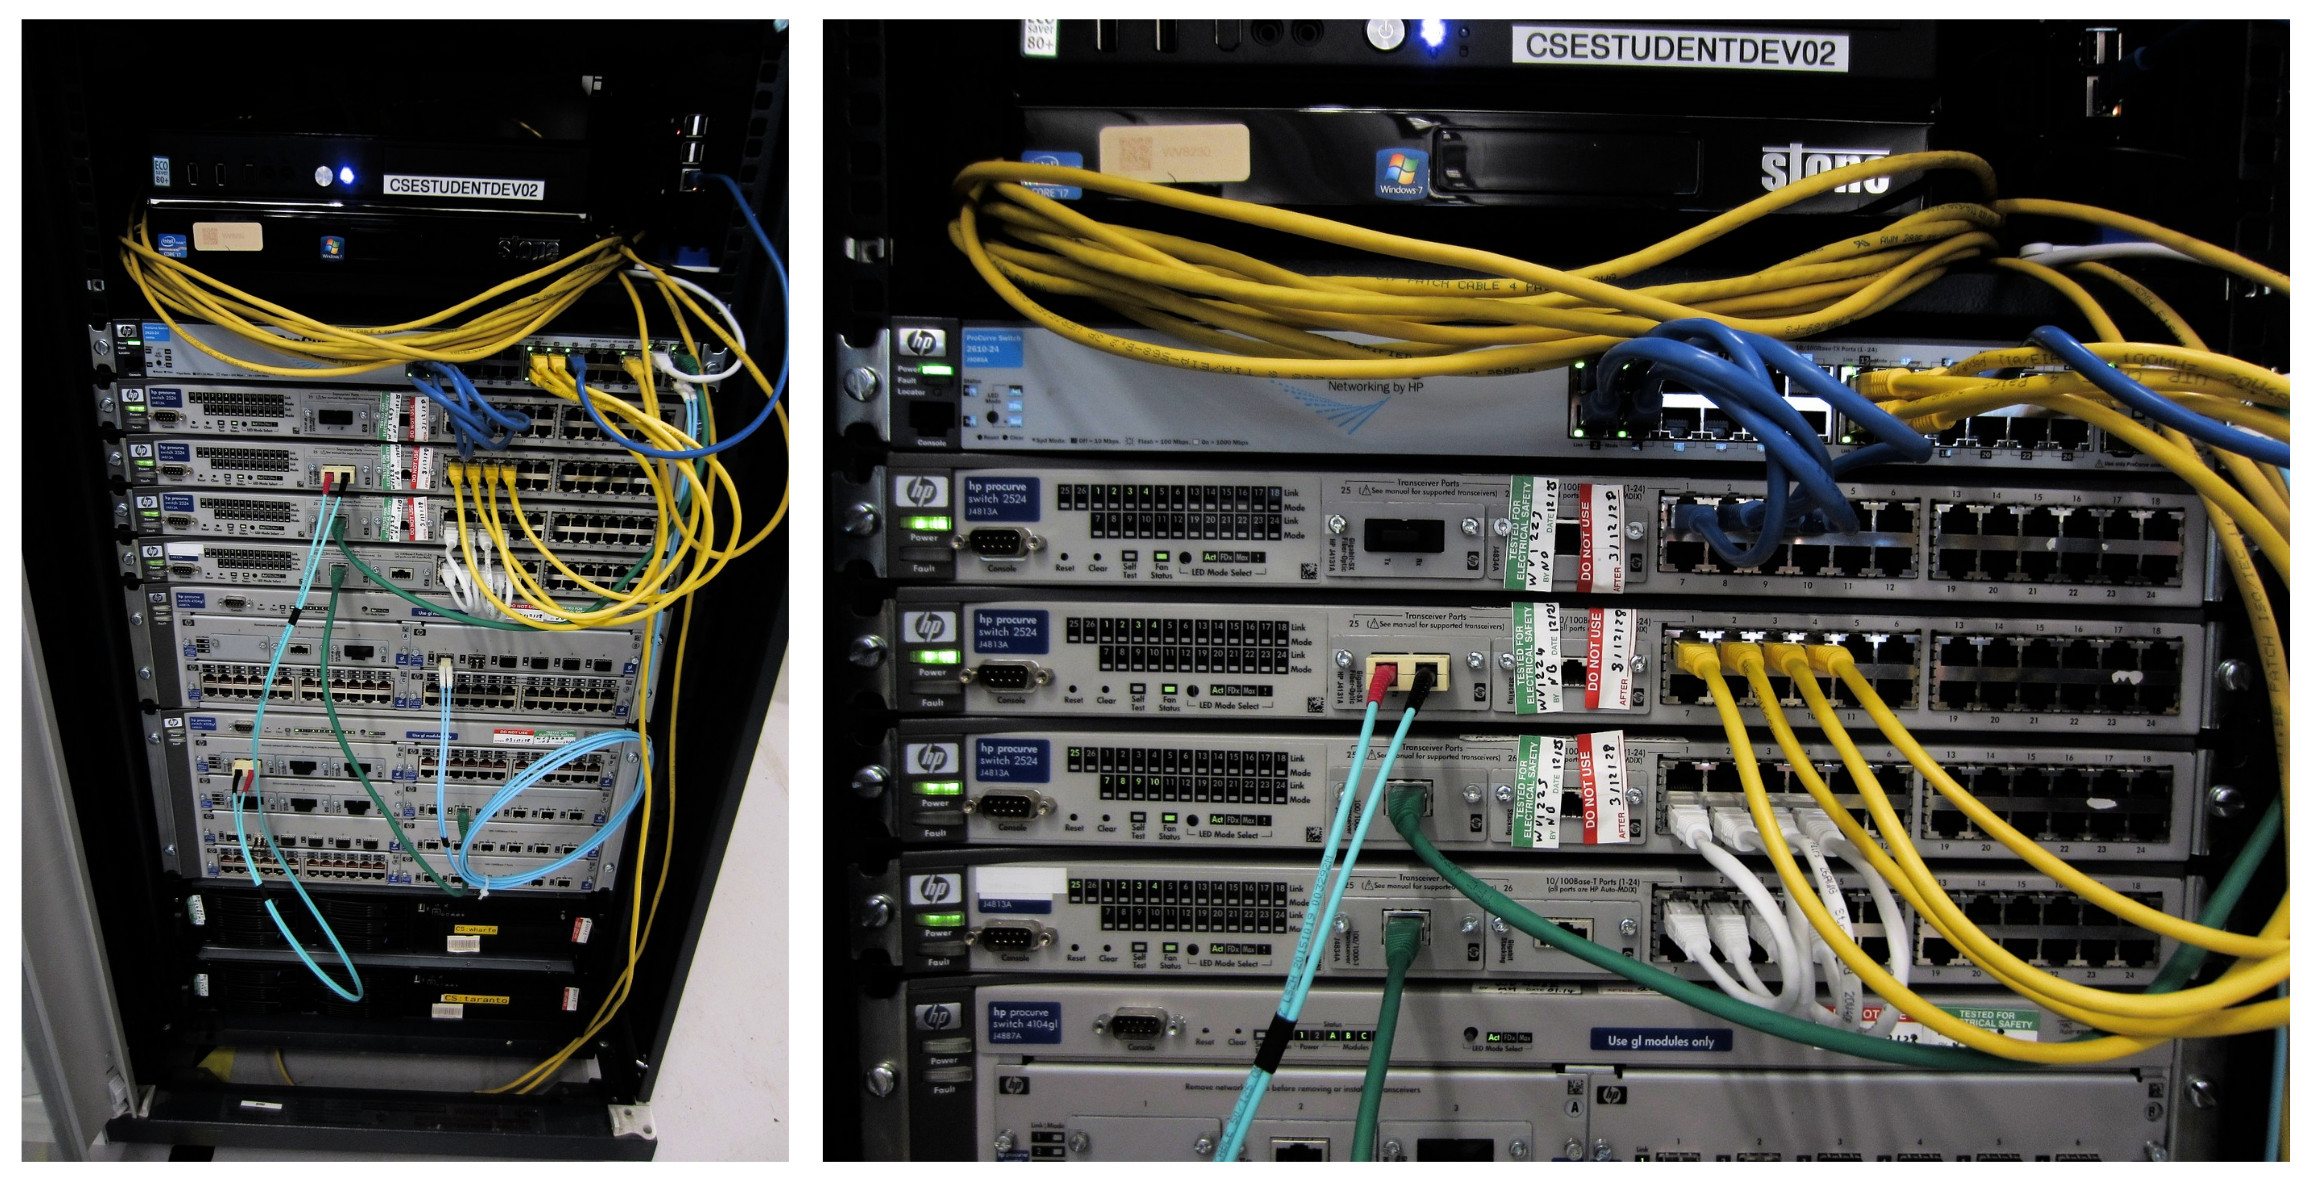
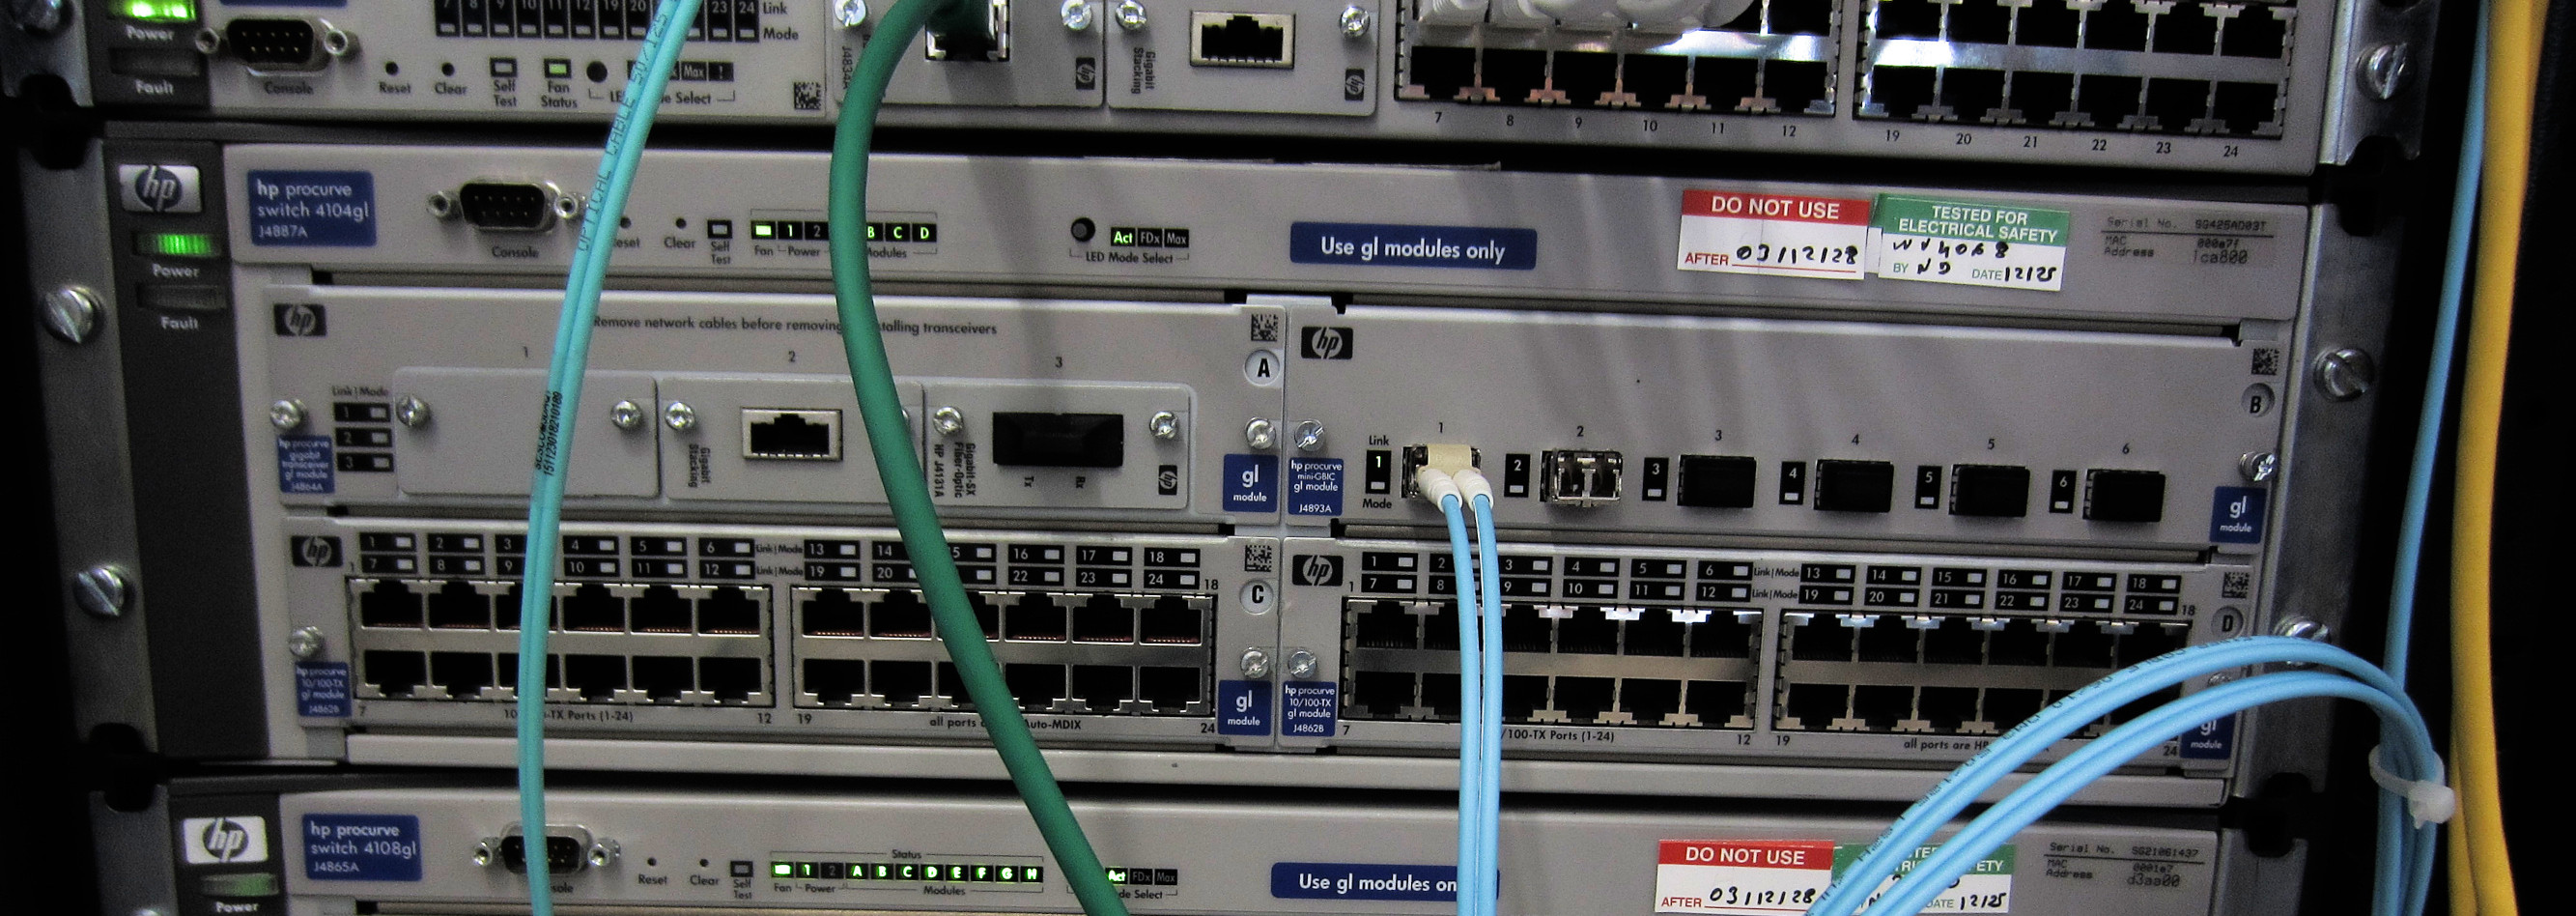
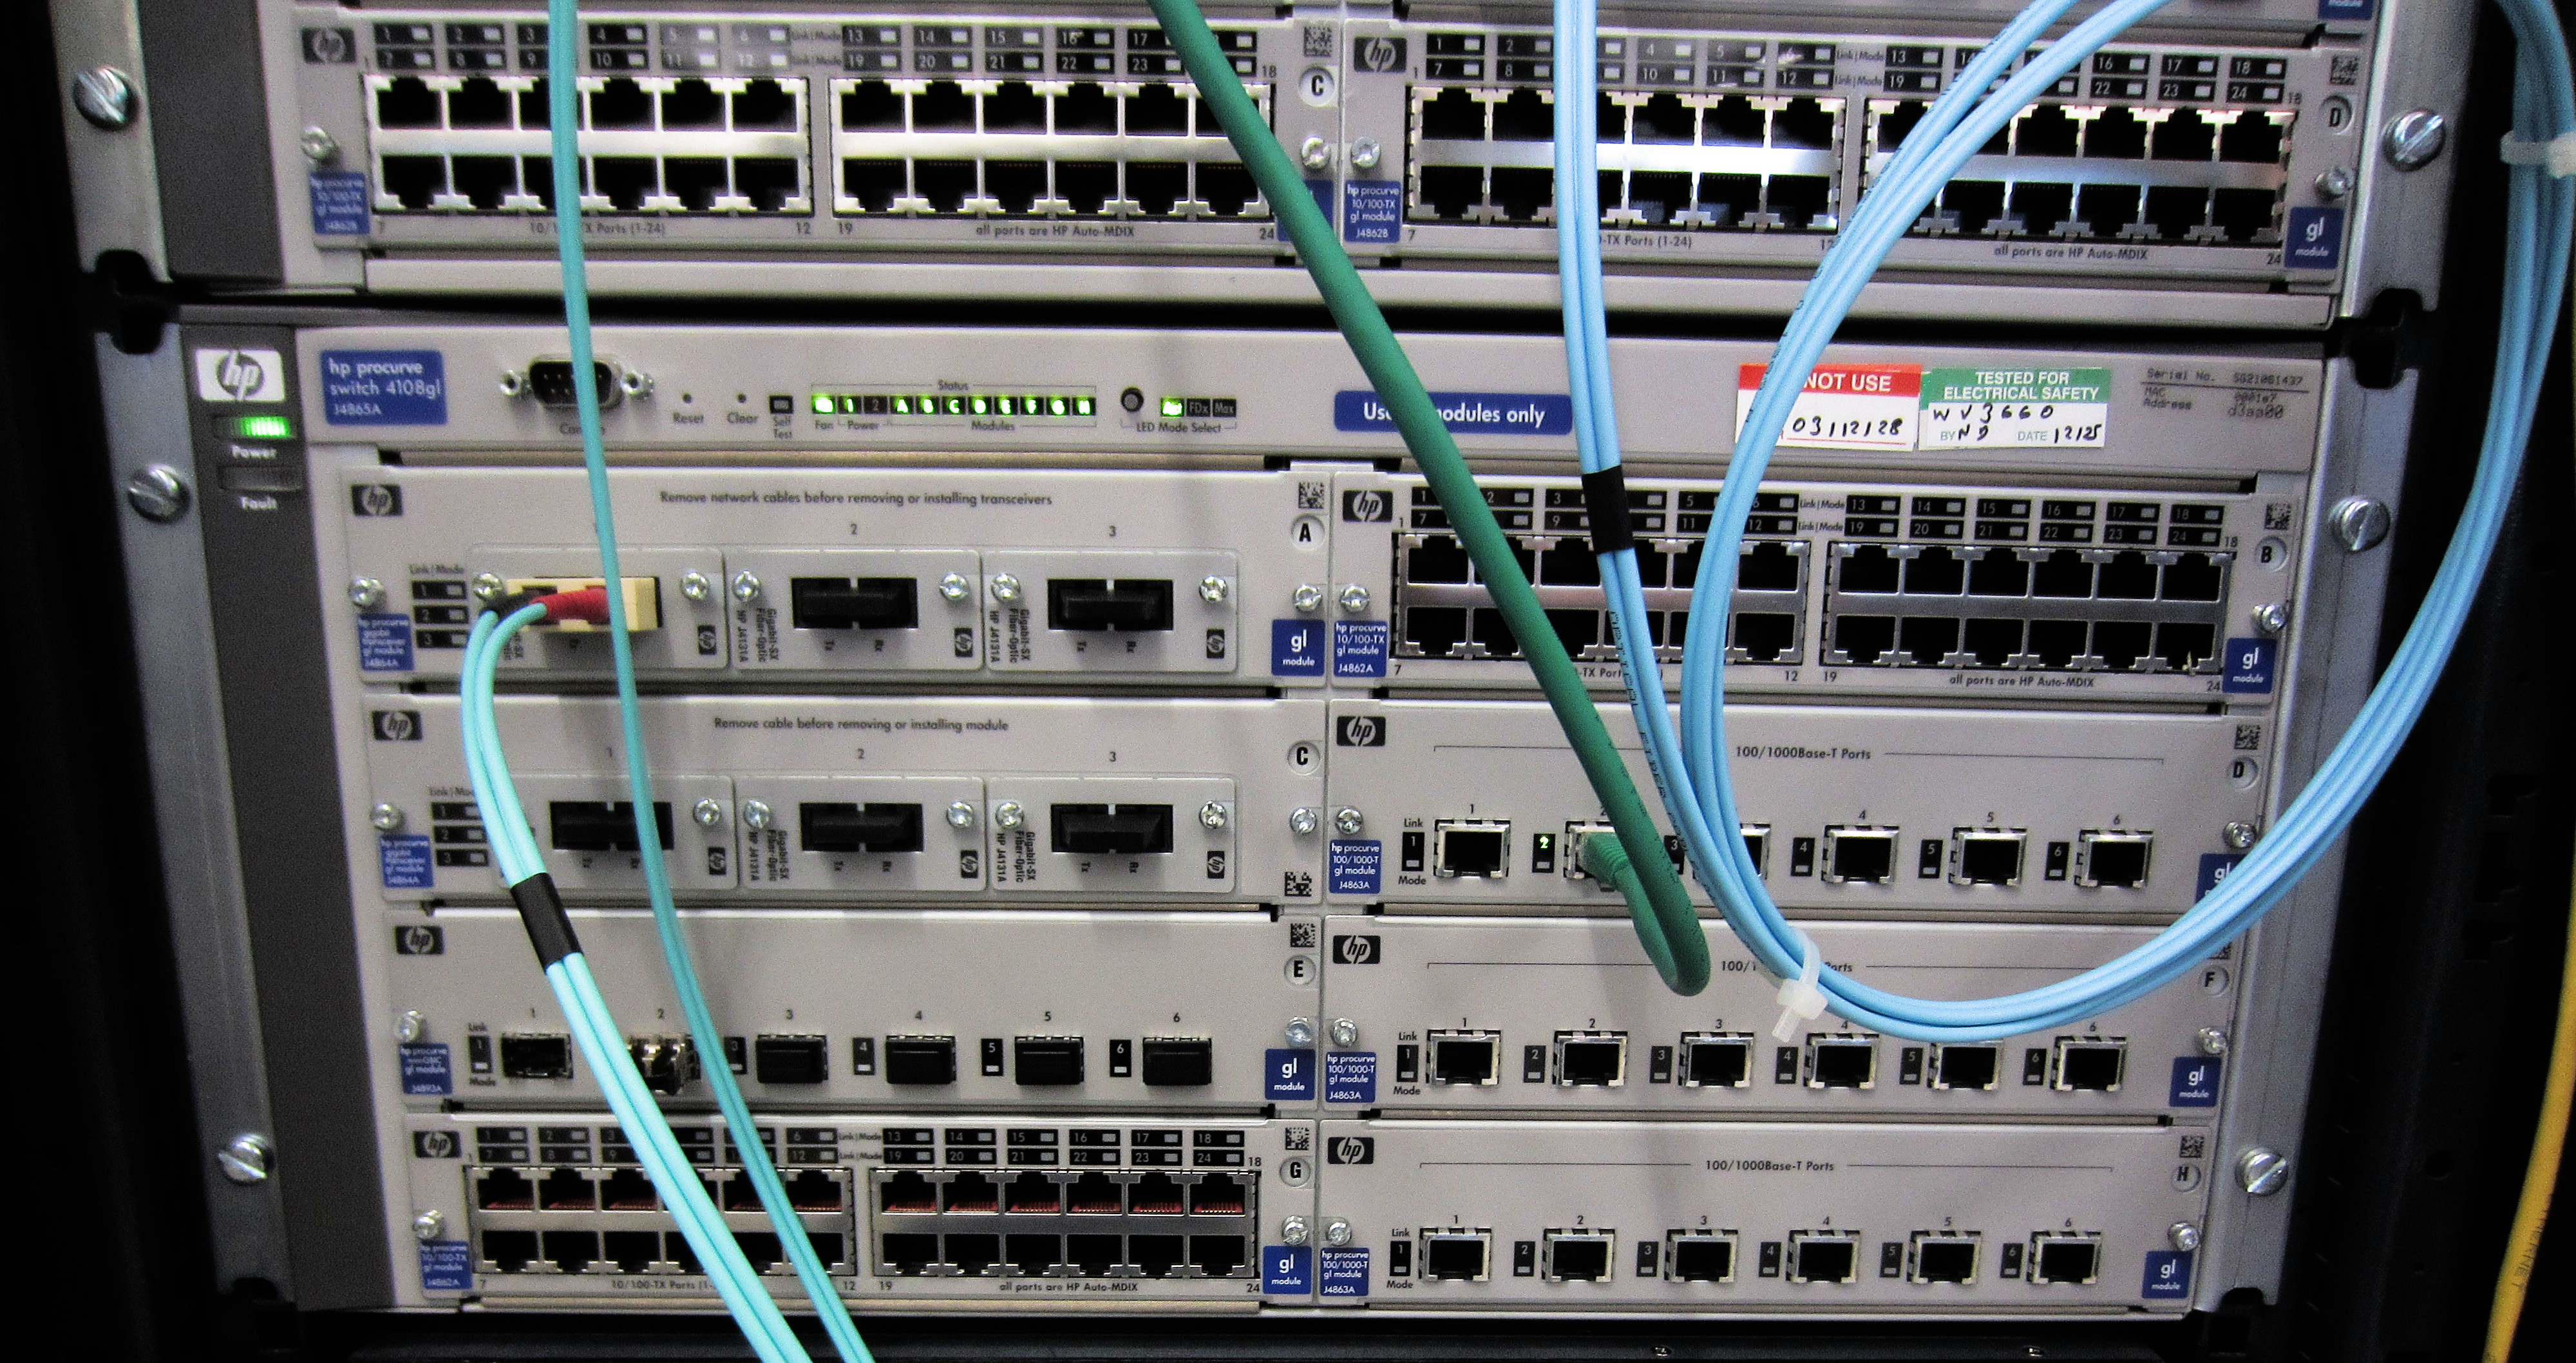
Figure 3 : network switches
Unlike the networks we have seen in the lab, a real-world network needs to consider reliability, availability and bandwidth issues. Therefore, in these types of network you will typically see redundant network devices and connections. Now if any network device / connection should fail the network can recover i.e. a user can still connect to the network resource via an alternative path. In addition to this a real-world network may need to duplicated network connections to meet bandwidth requirements. Link aggregation protocols can be used to split network traffic across multiple connections e.g. ten 1Gbps links can be combined to form a virtual 10Gbps link. Note, this type of functionality is not supported on our simple layer-2 switch used in your Pi base system, we need a layer-3 switch :).
For more information on these switches see below:
These switches are organised as shown in figure 4. Connections are made using a mix of copper and fibre cables.
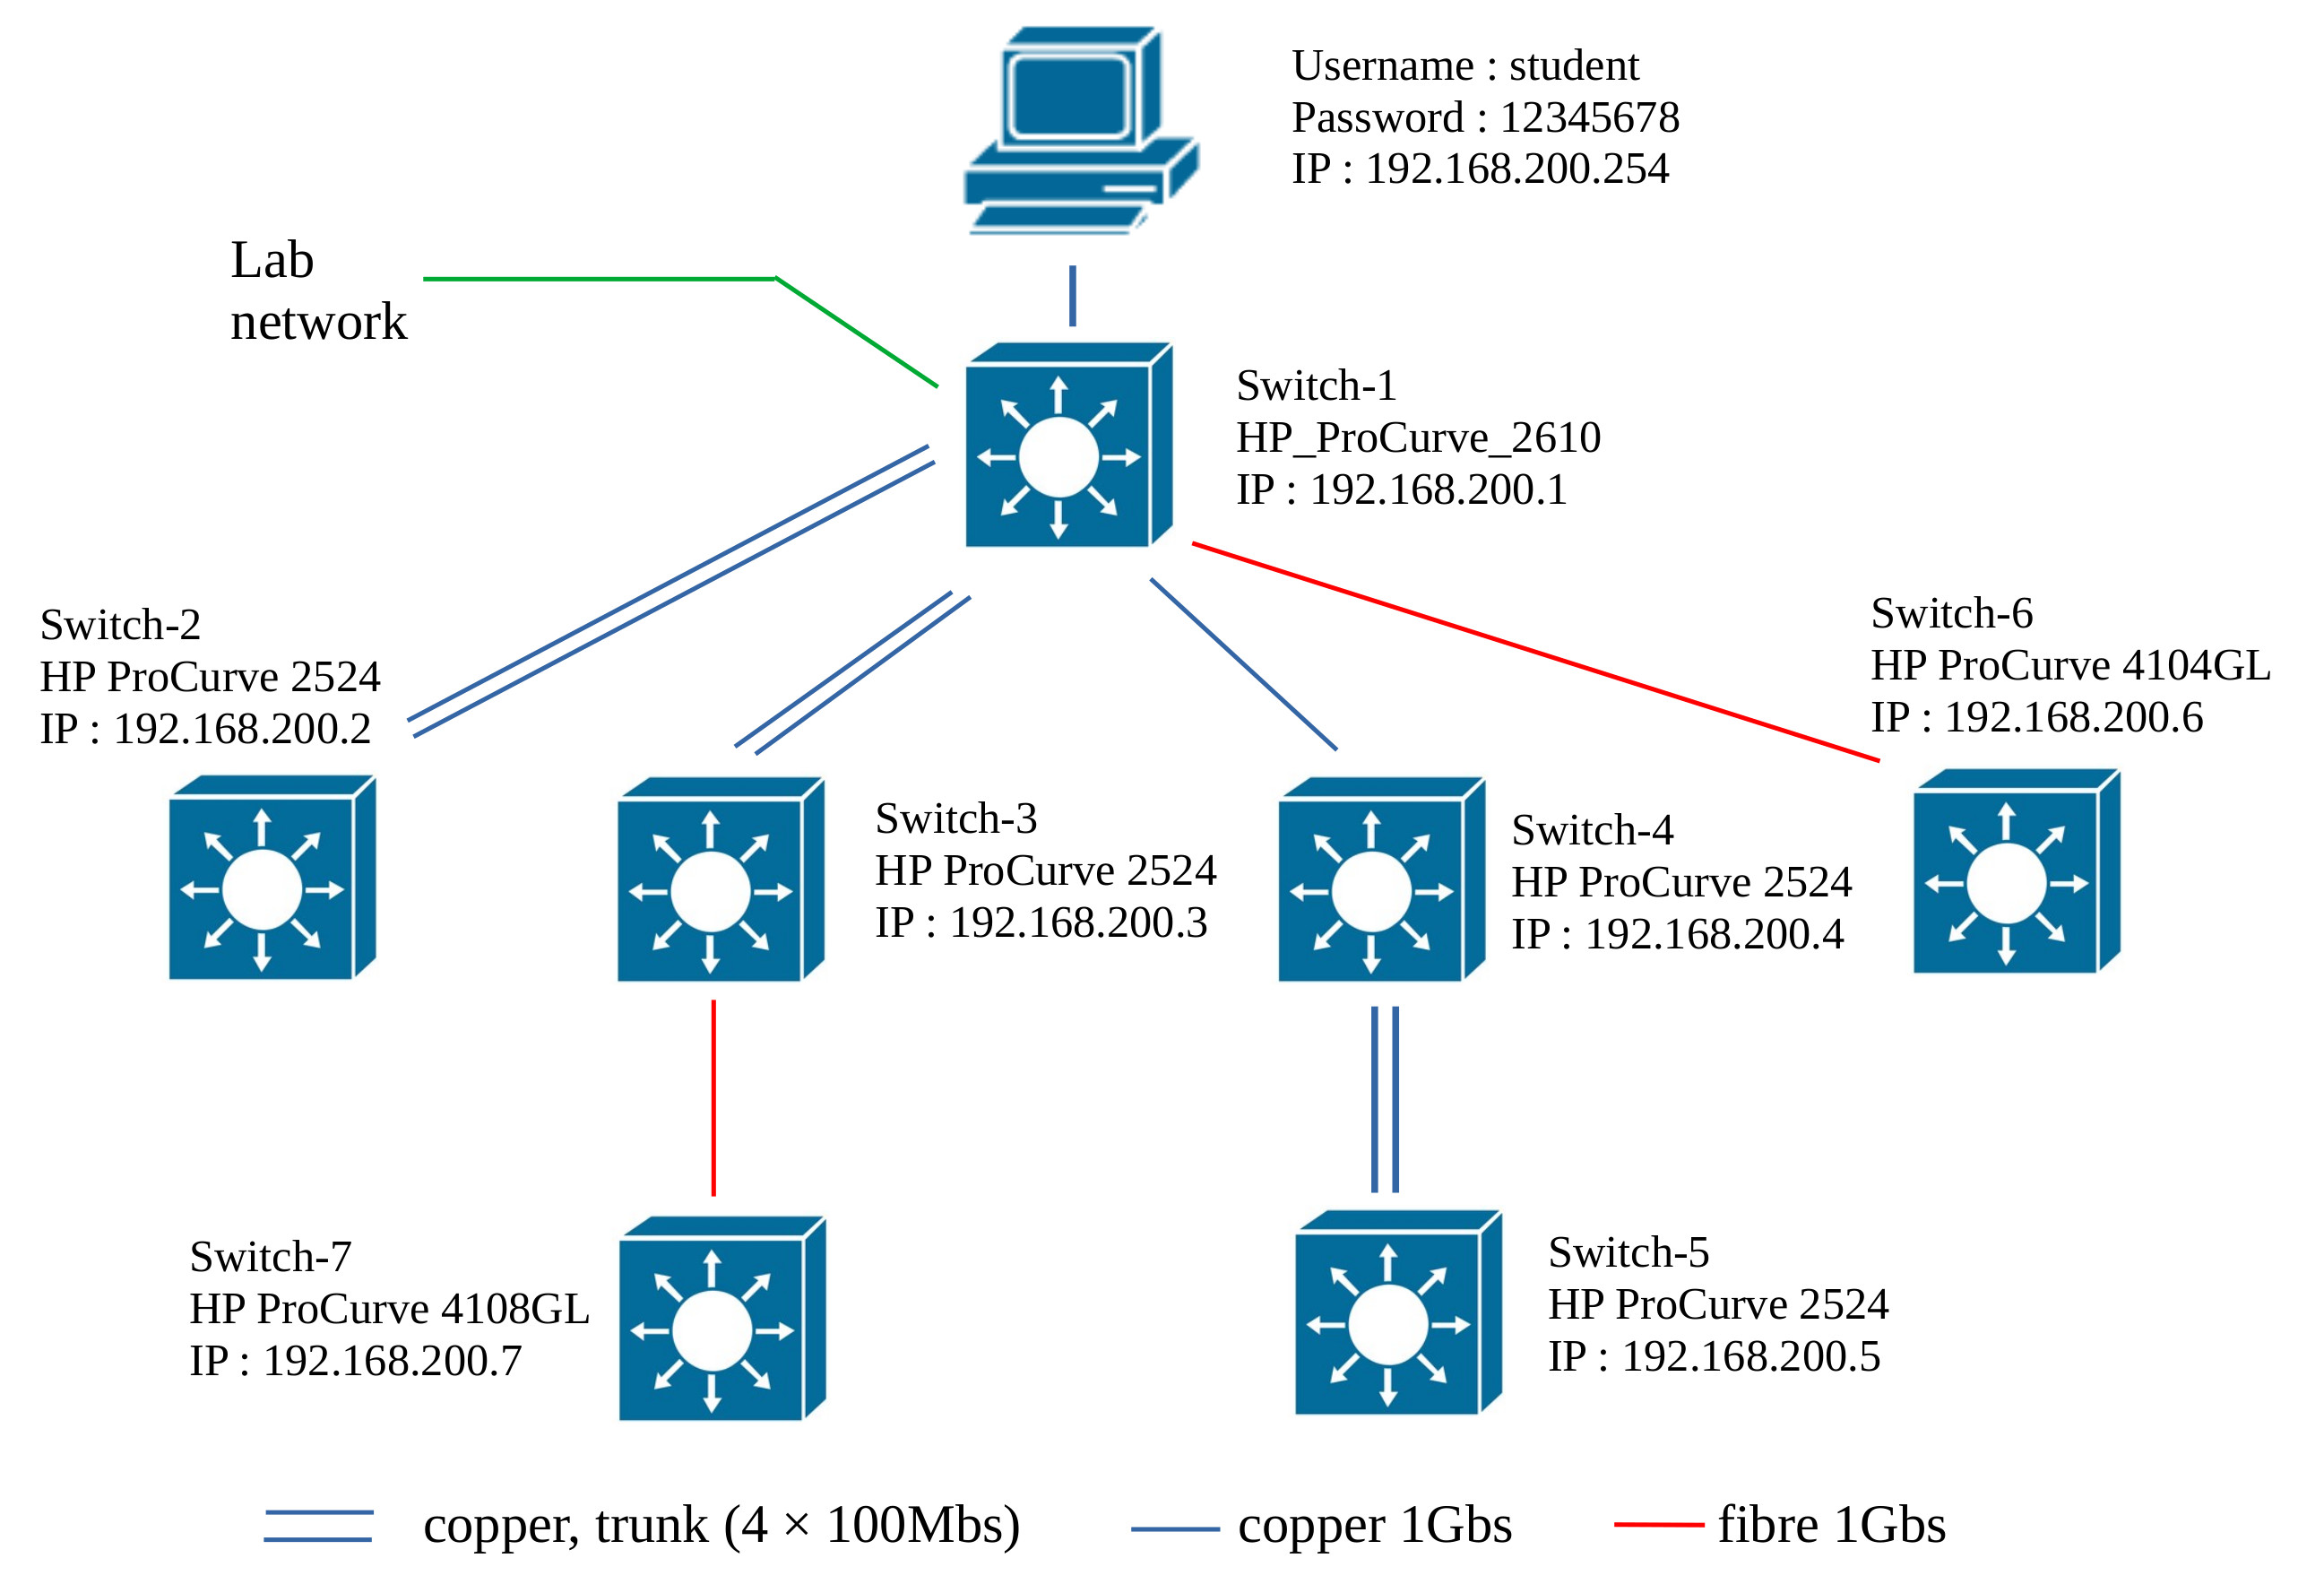
Figure 4 : play-pen network hierarchy
To remotely mange one of these switches you can use the PC in the play-pen, shown in figure 5. Username: student, as always in SYS2 there are only two passwords :). Alternatively, connect your Pi base system to the lab network using the GREEN network cable open a terminal and run the command below:
telnet 192.168.200.1
username: admin
password: <you_know_the_password>
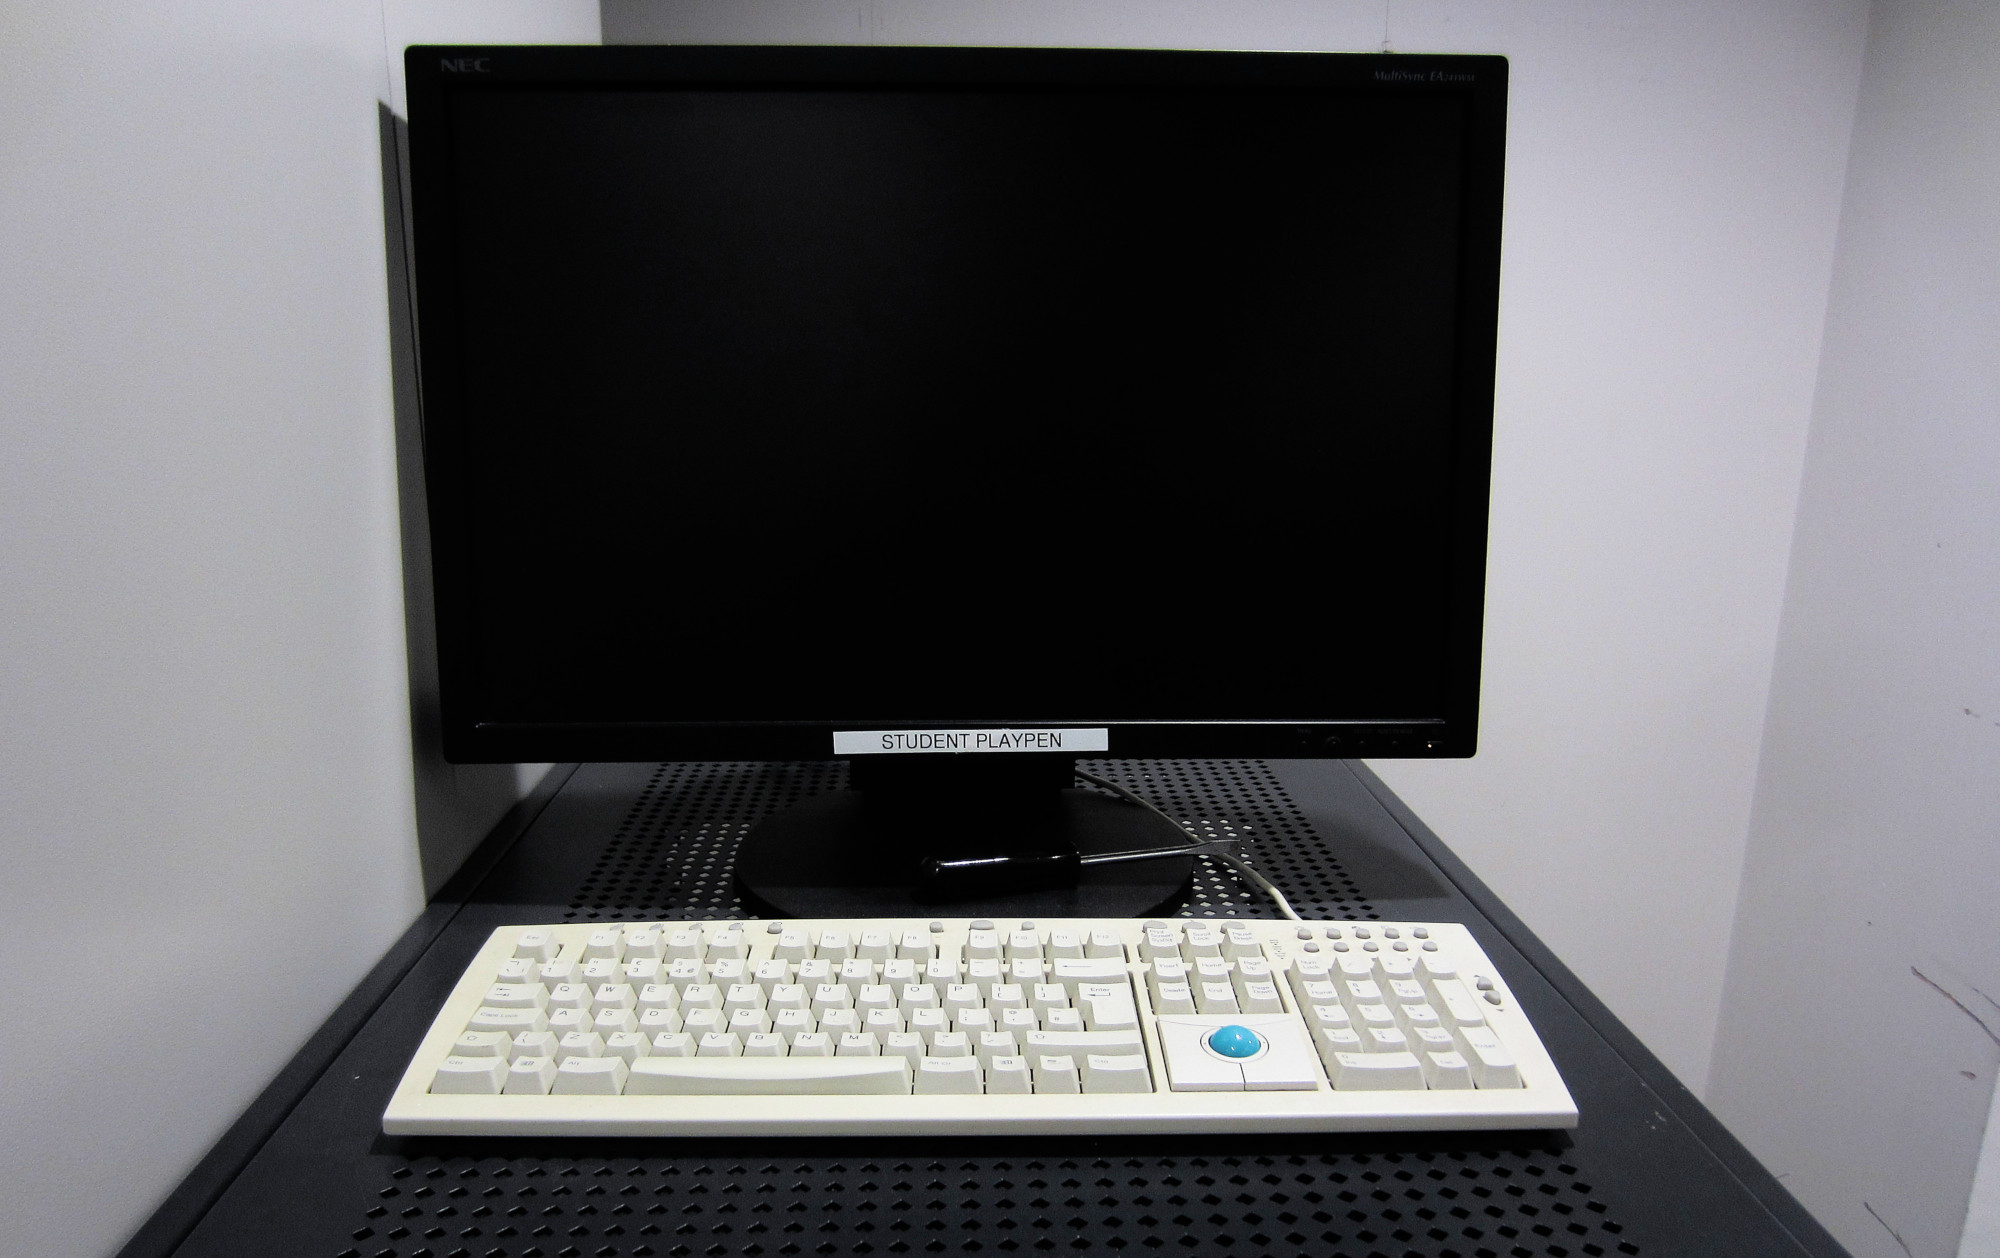
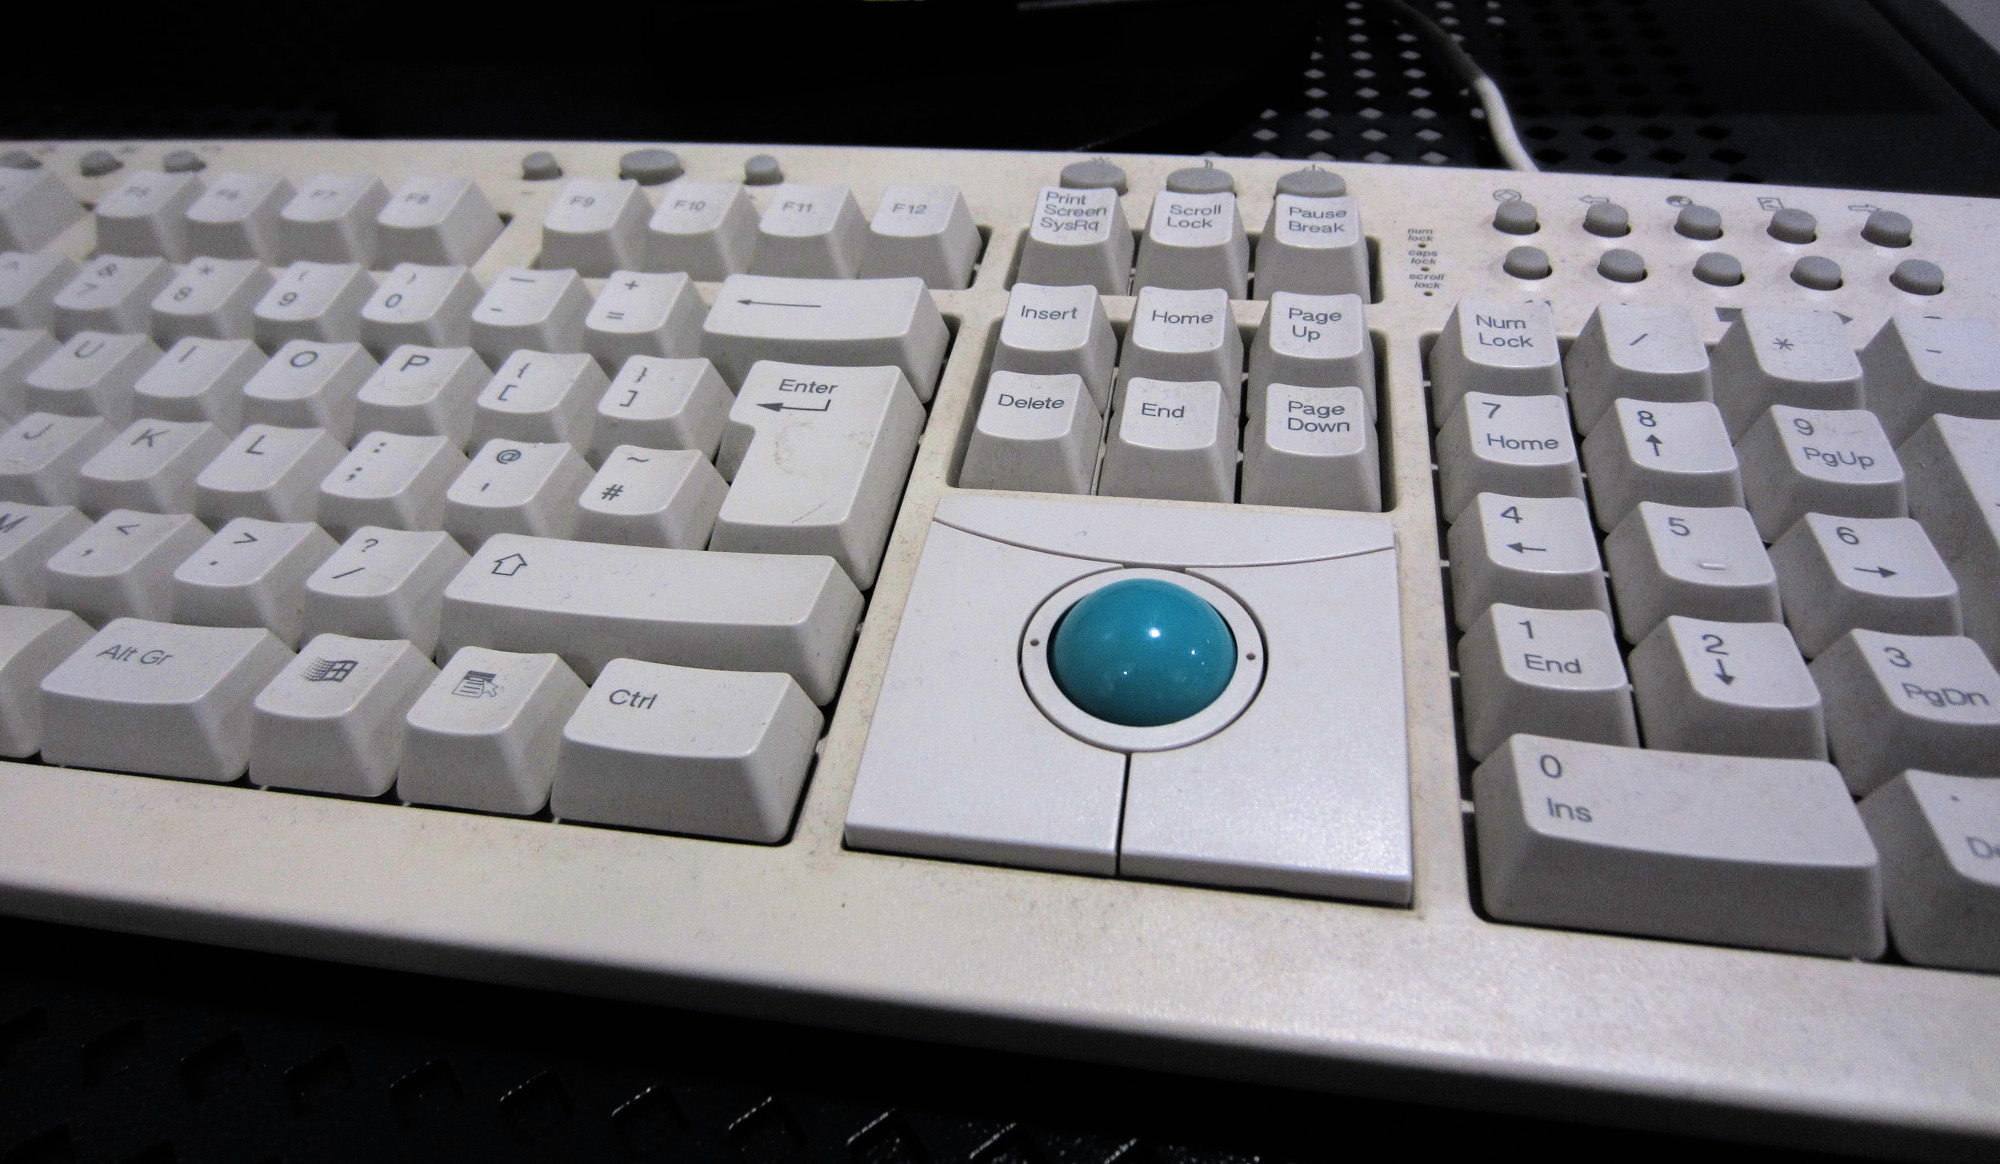
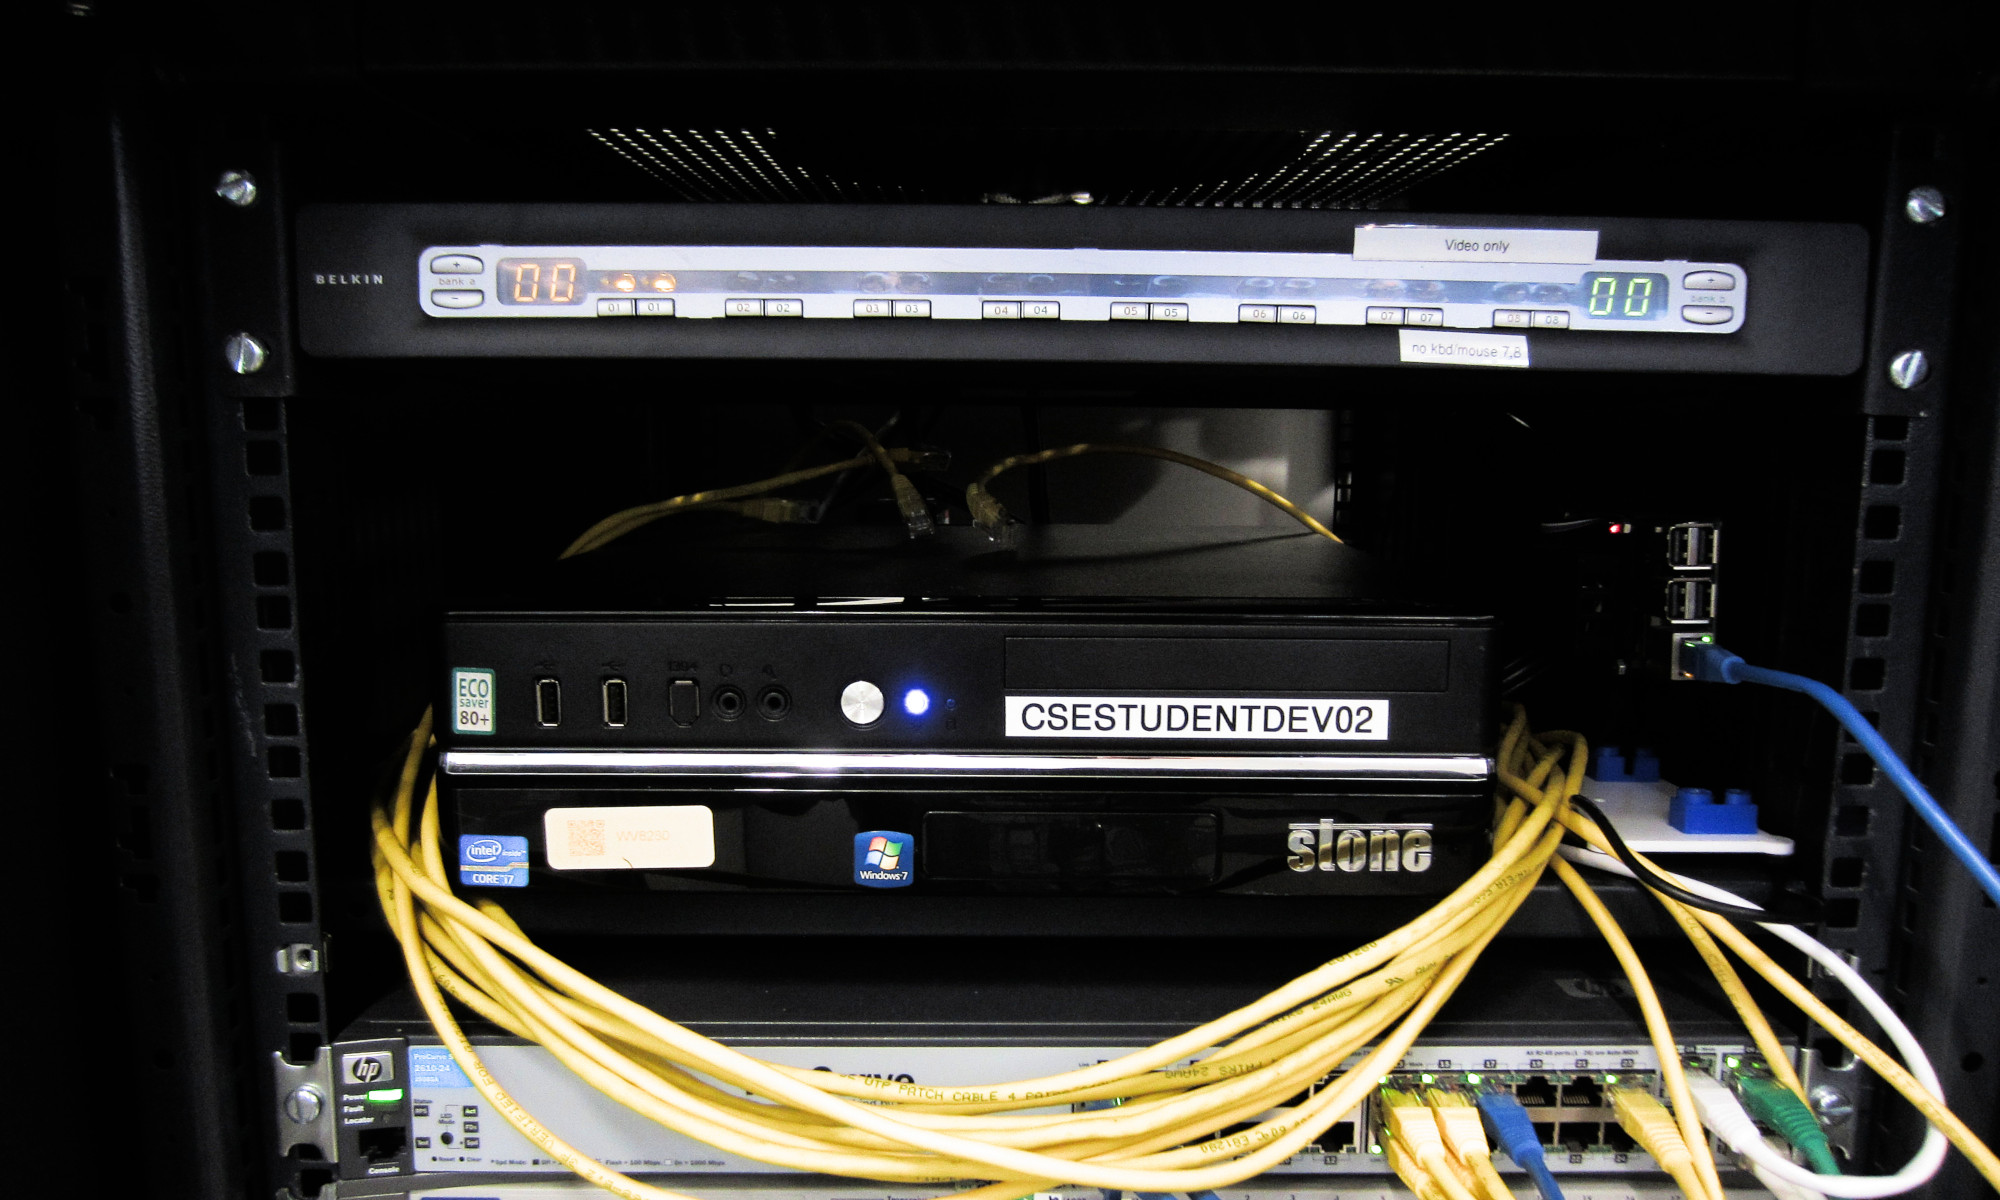
Figure 5 : play-pen computer, retro tacker-ball :)
This will connect you to Switch-1 i.e. a HP ProCurve_2610. You will first see a welcome screen telling you what type of switch you are trying to access. Press and key, you will then be prompted for a password. . When logged in you will see an operator prompt: "HP_ProCurve_2610_LAB >", this will vary depending on the switch accessed, but the key point to note is the ">" symbol this indicates you are running an operator terminal i.e. you can can not modify the switches configuration in this mode.
Press the “?” key, this will list the commands you can run, as shown in figure 6. Remember is that this is not a terminal, you can not run Linux type commands, rather:
?                   Lists command you can run.
<command> ?         Lists the parameters you can enter for the selected command.
                    Pressing TAB does the same i.e. lists options / auto-complete.
/                   Return to the root i.e. top, directory.
/<directory>        Change directory i.e. each directory contains different commands / files
show <file>         Display contents of file in a directory e.g. show mac-address.
                    Note, on some routers/switches use print
You can access all the switches functionality via this command line interface, however, I do confess I always forget the syntax, therefore, I tend to cheat and use the menu option. At the command prompt enter: menu, you will now be able to access the menu screen as shown in figure 6.
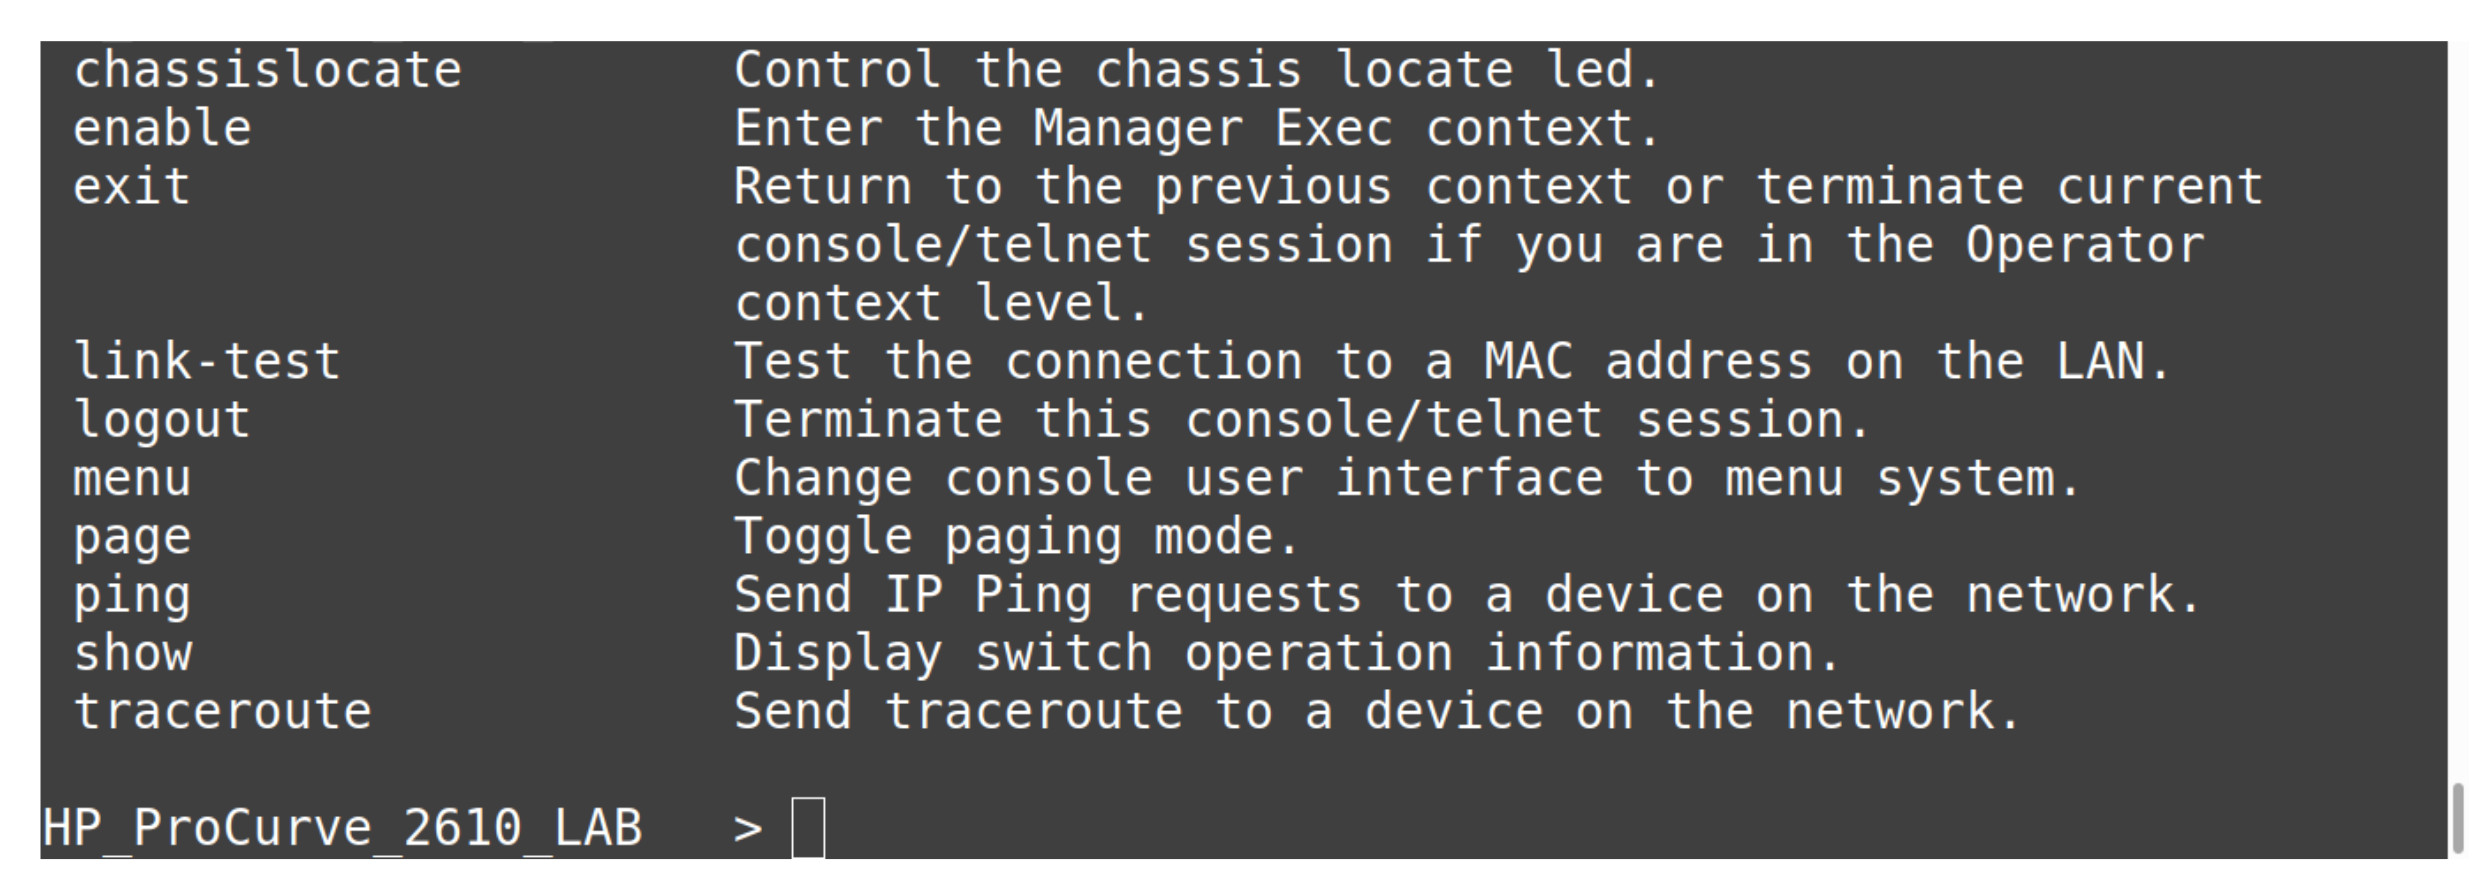
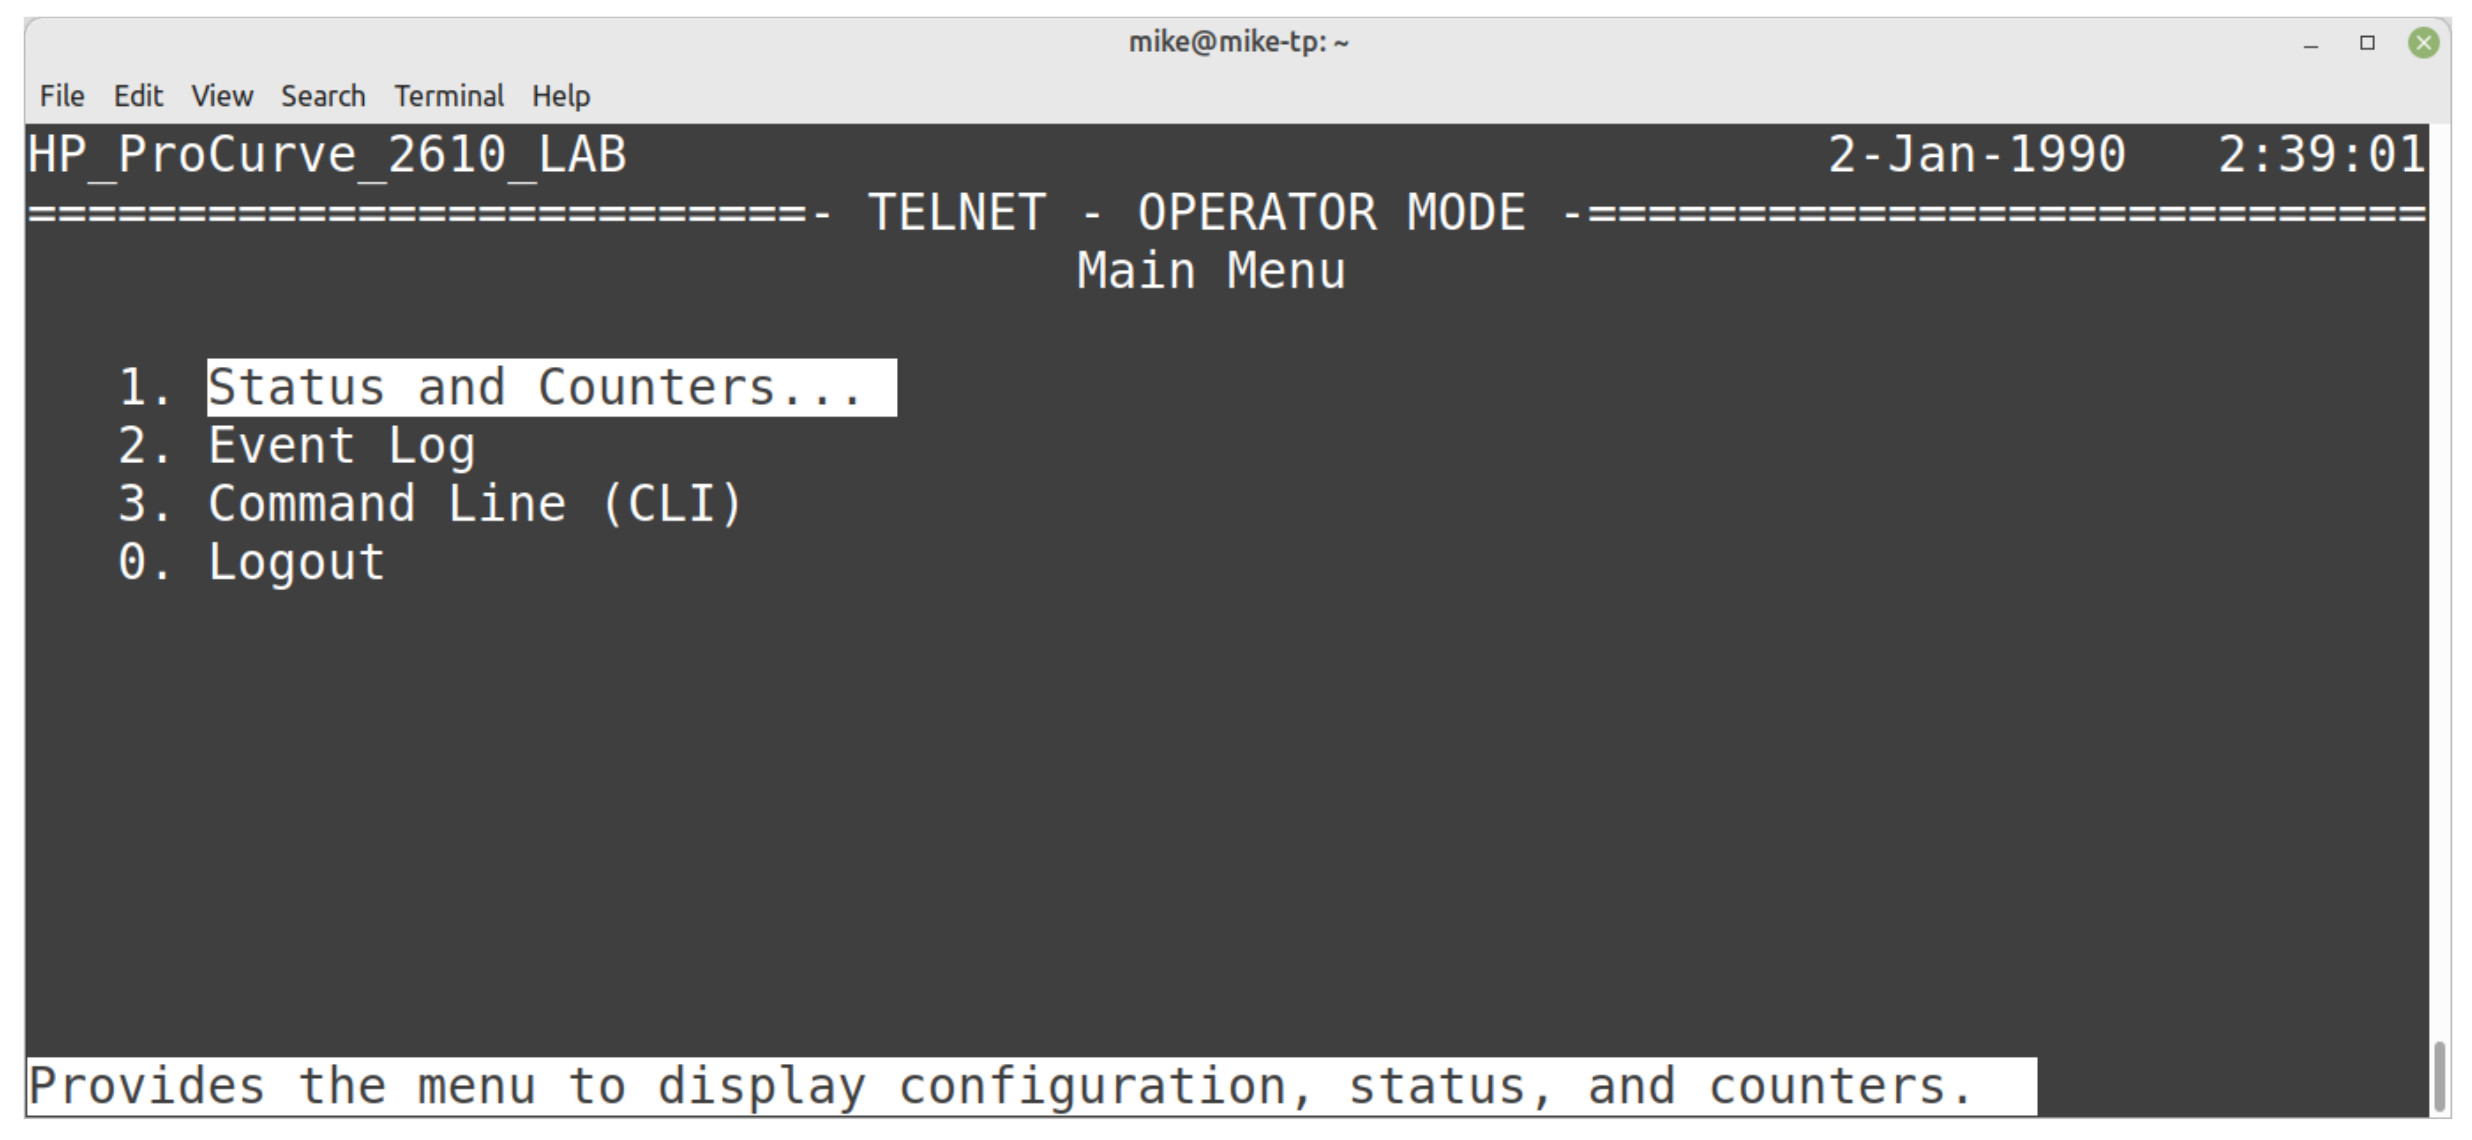
Figure 6 : CLI commands (top) or menu (bottom)
To get you started on your journey to becoming a network engineer a couple of tasks for you to do:
Task : select option 1 from this menu i.e. "Status and Counters", from this menu can you identify what ports use copper or fibre cables i.e. can you identify the Ethernet standard used by each port? Some useful links:
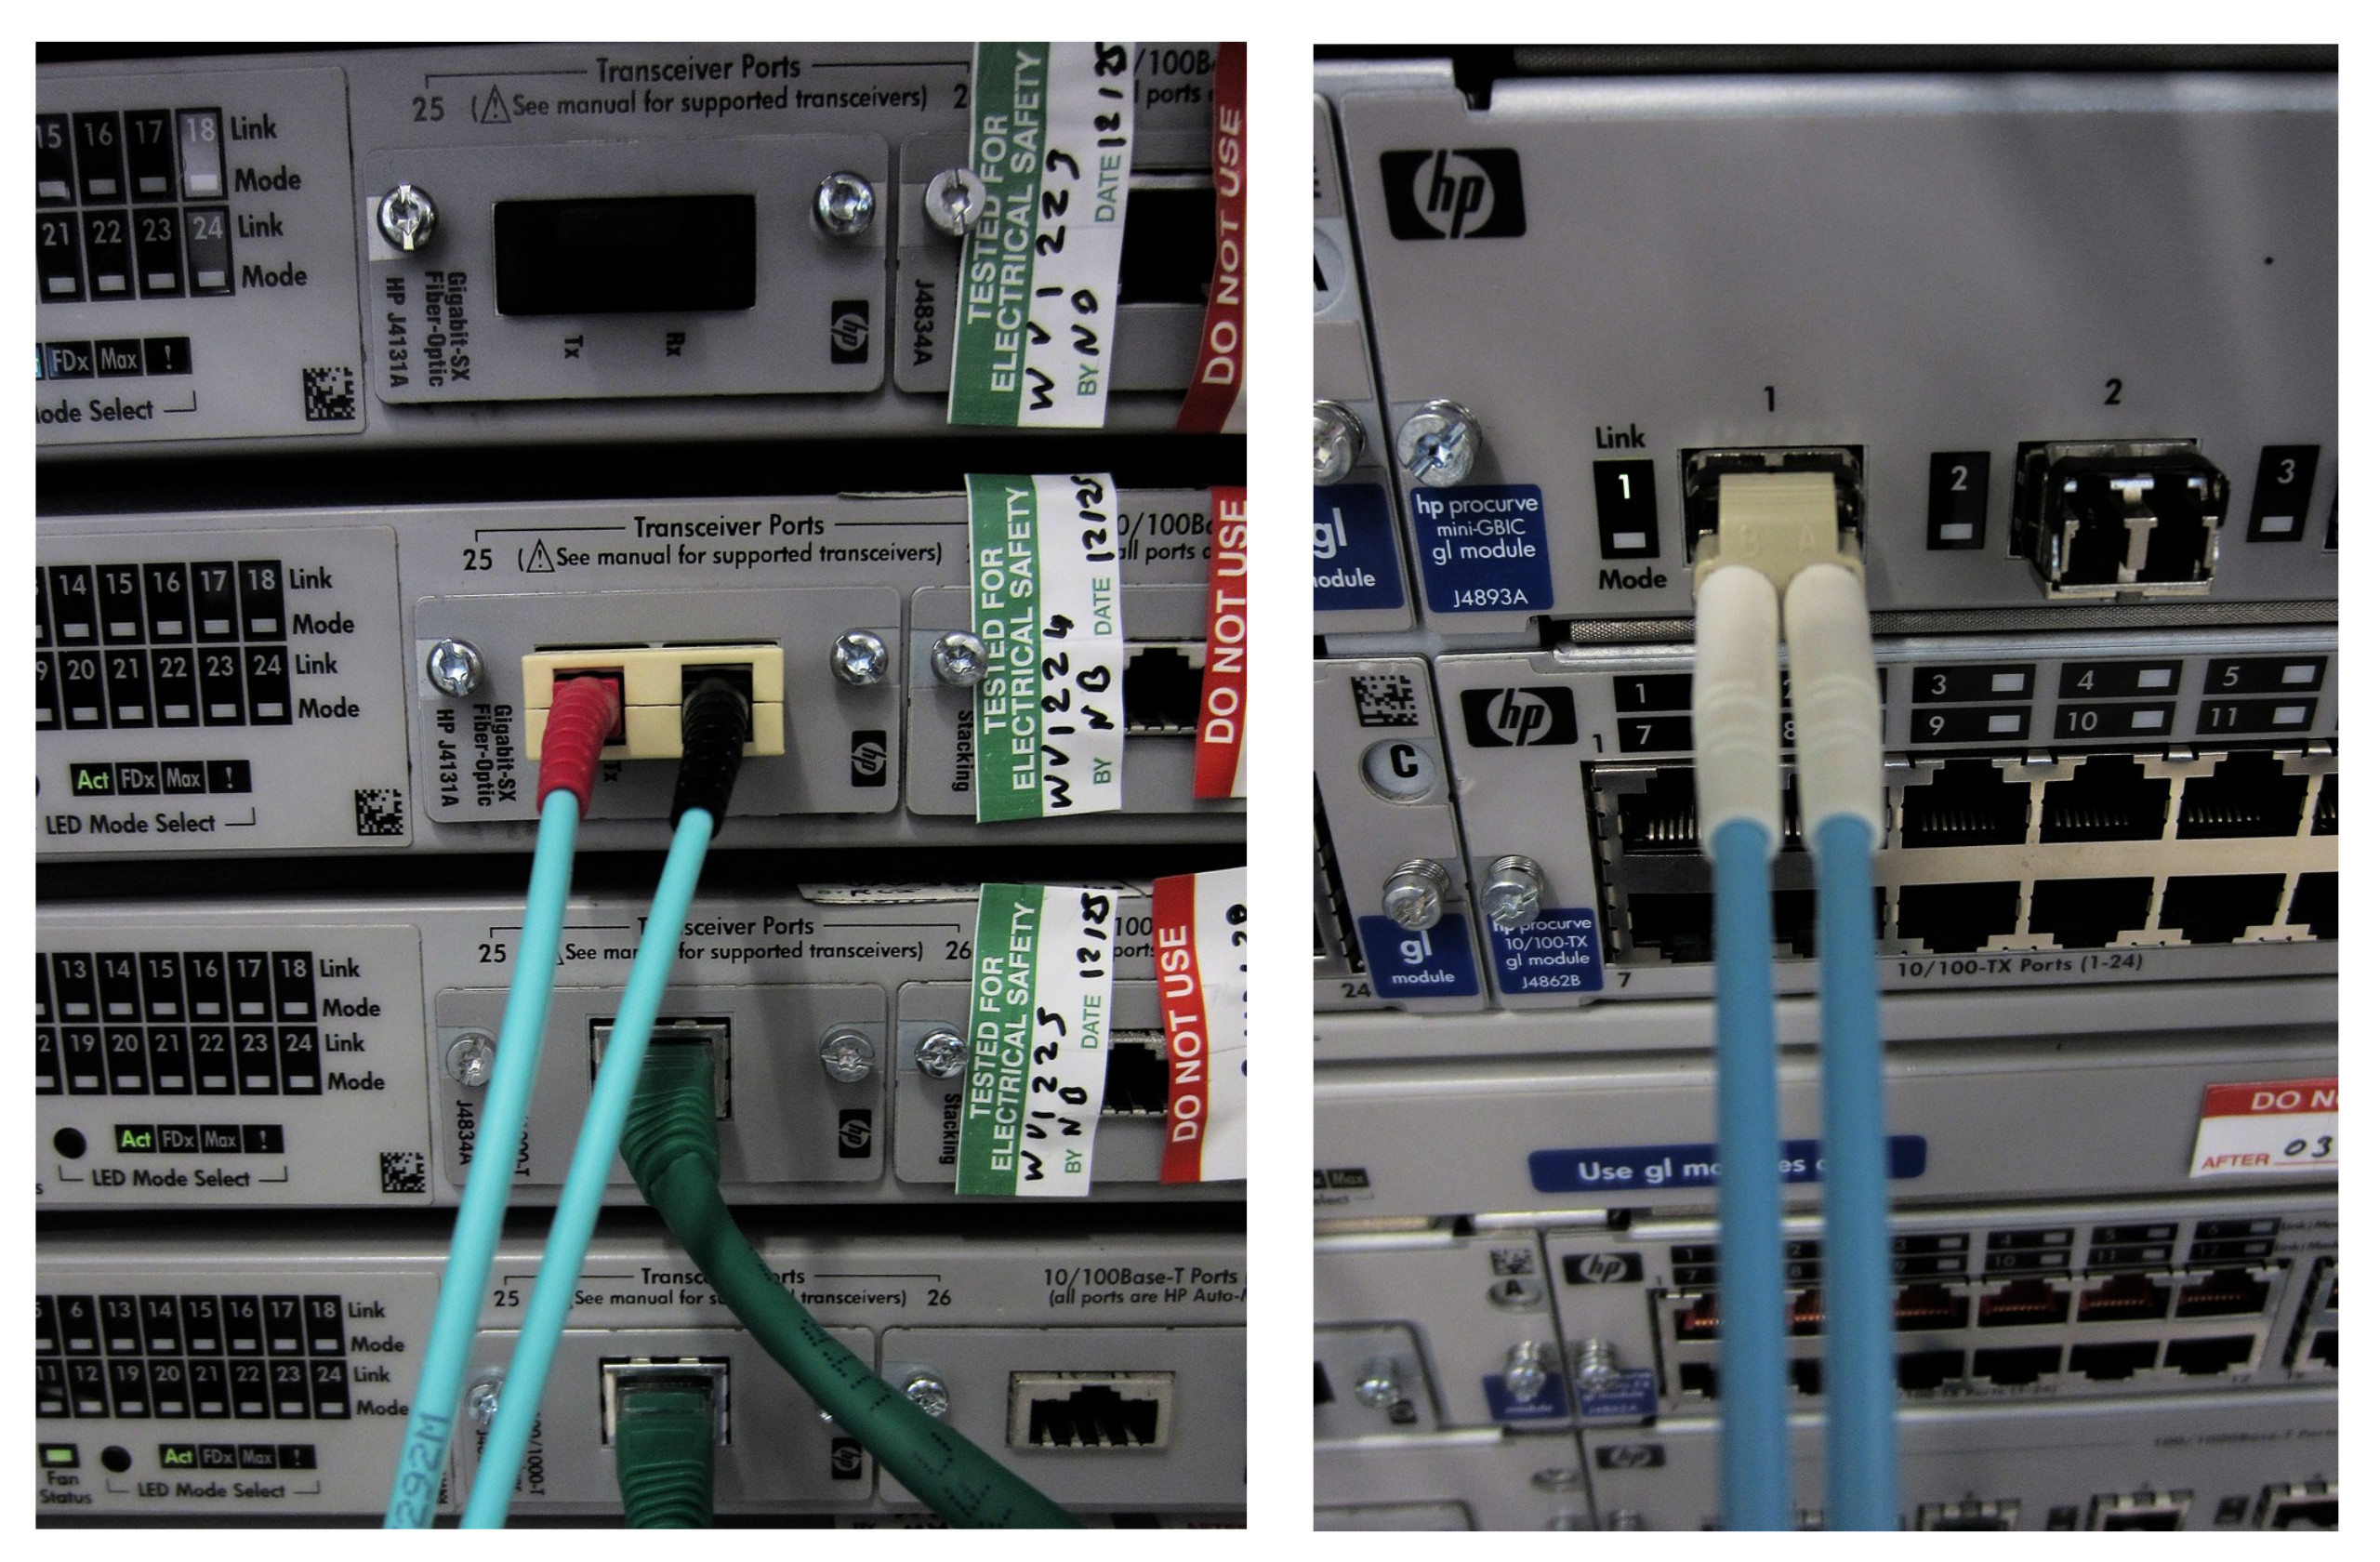
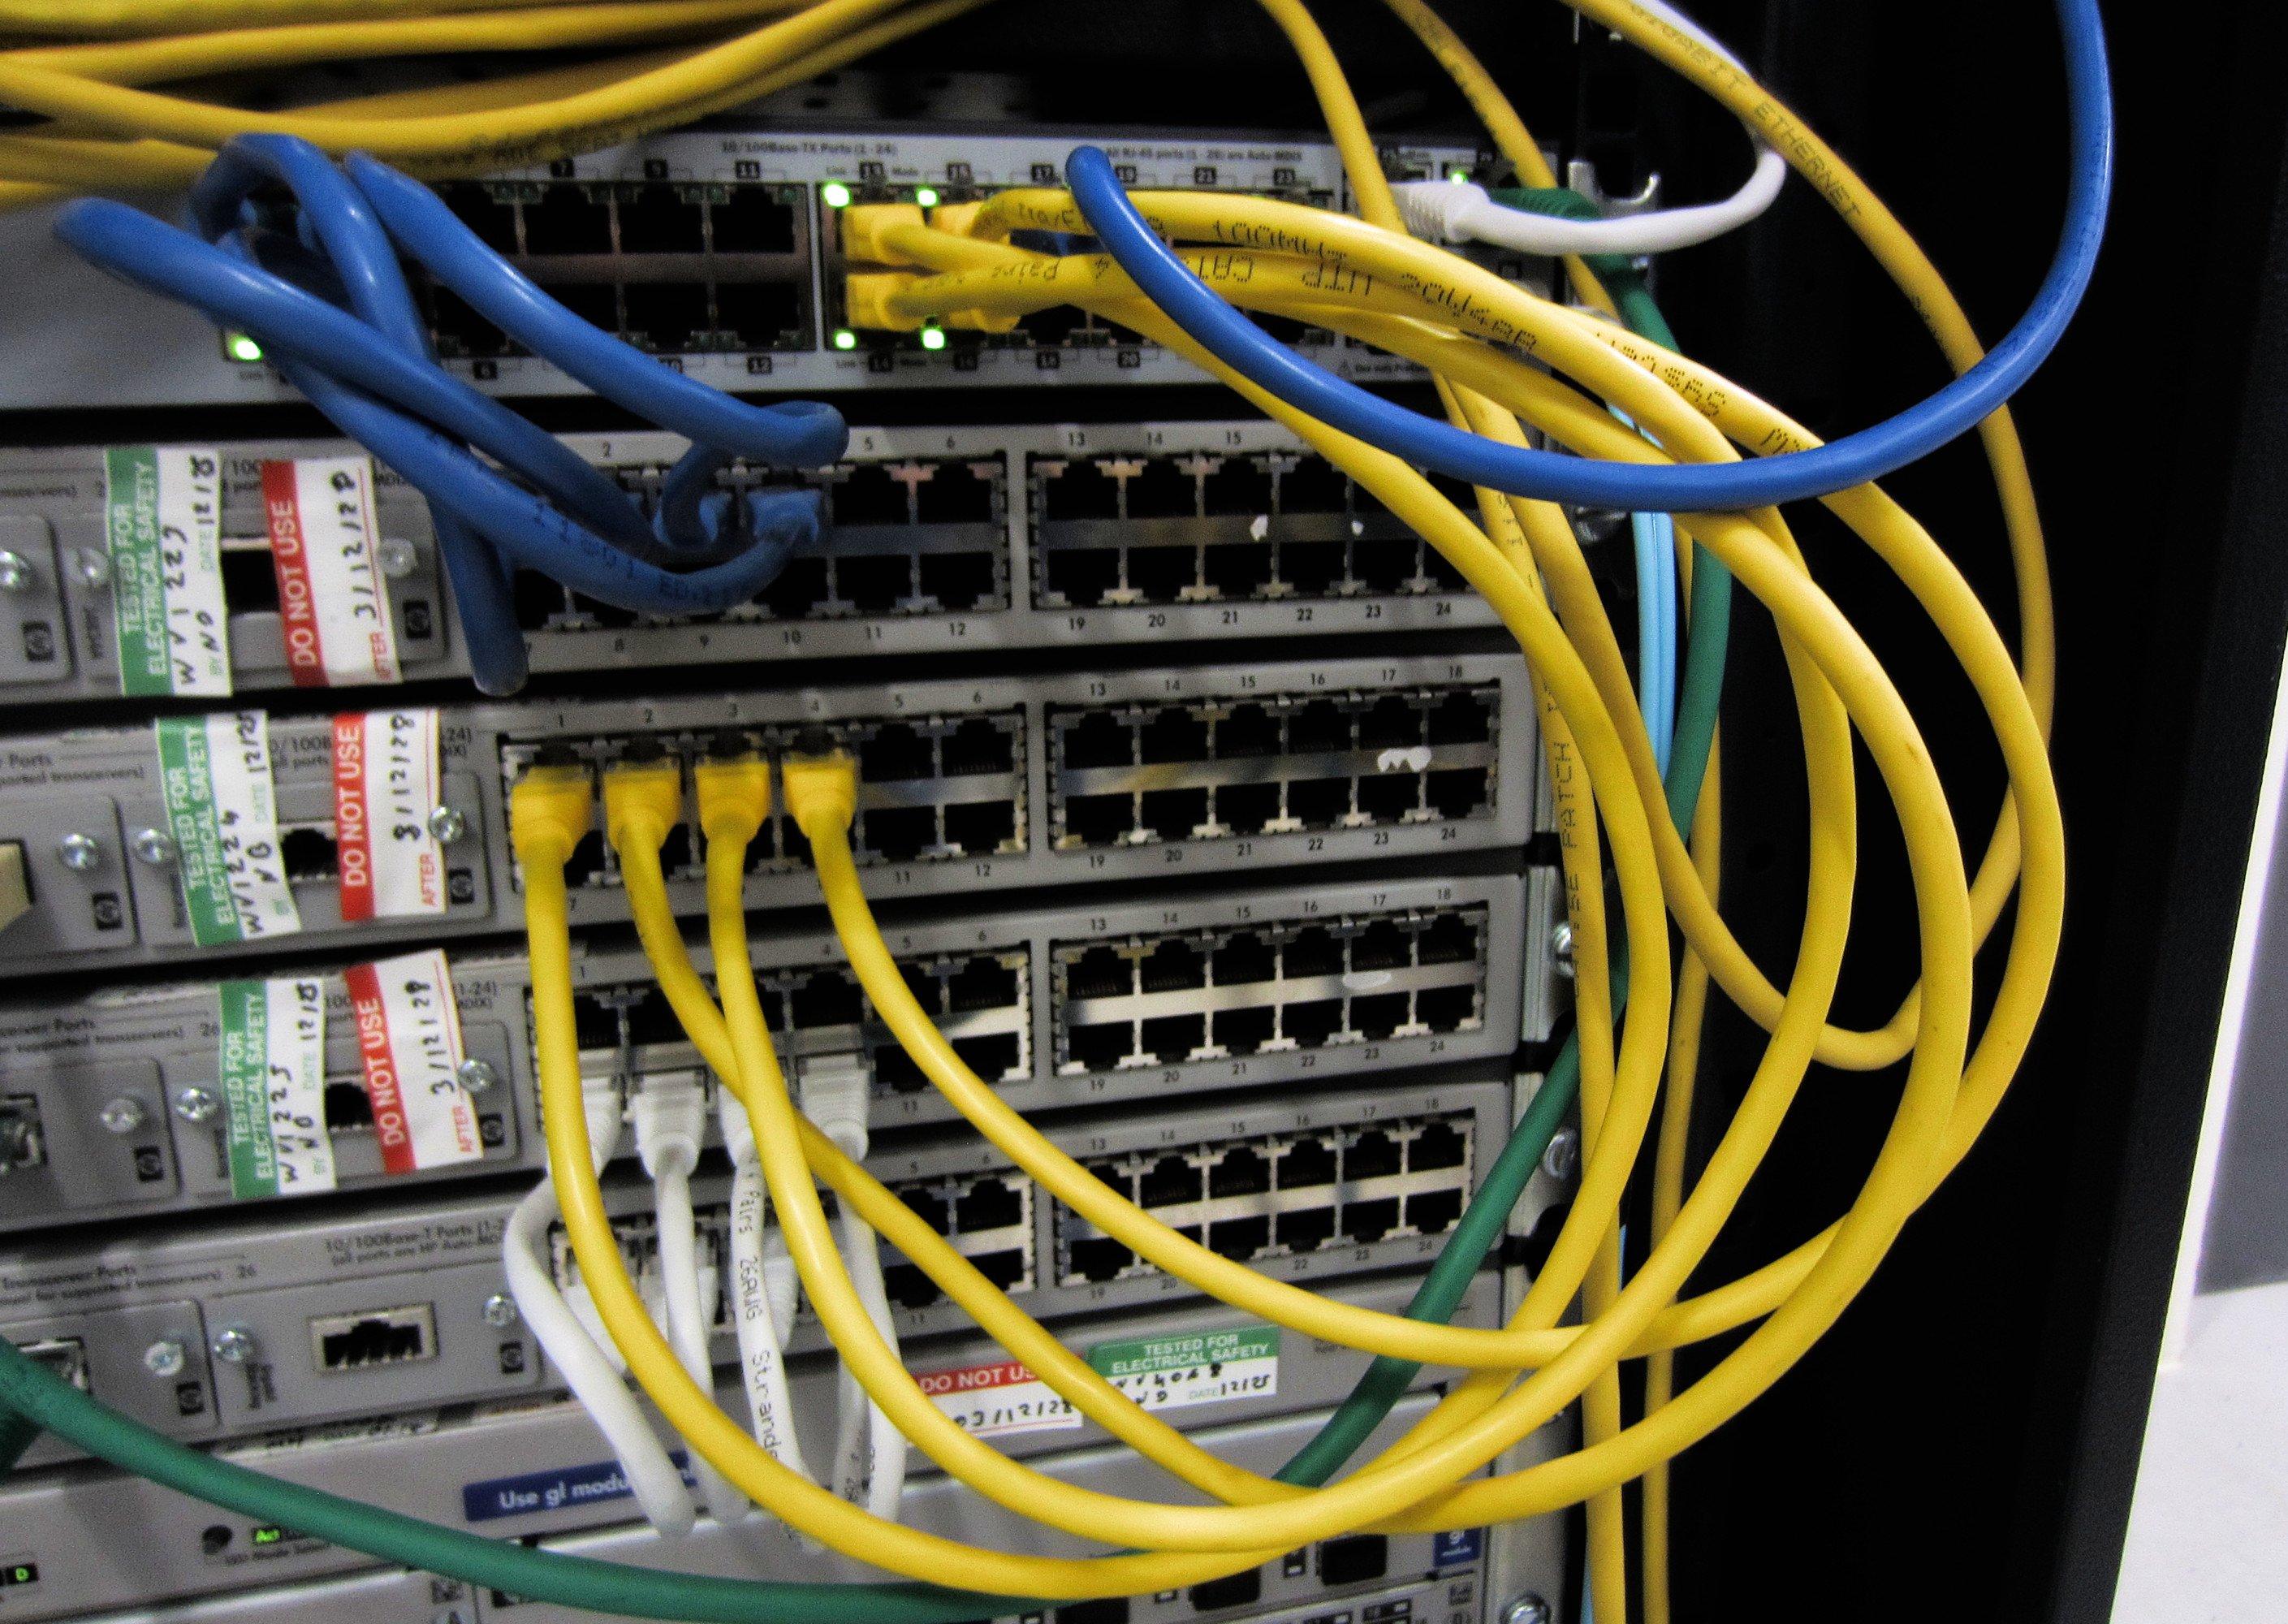
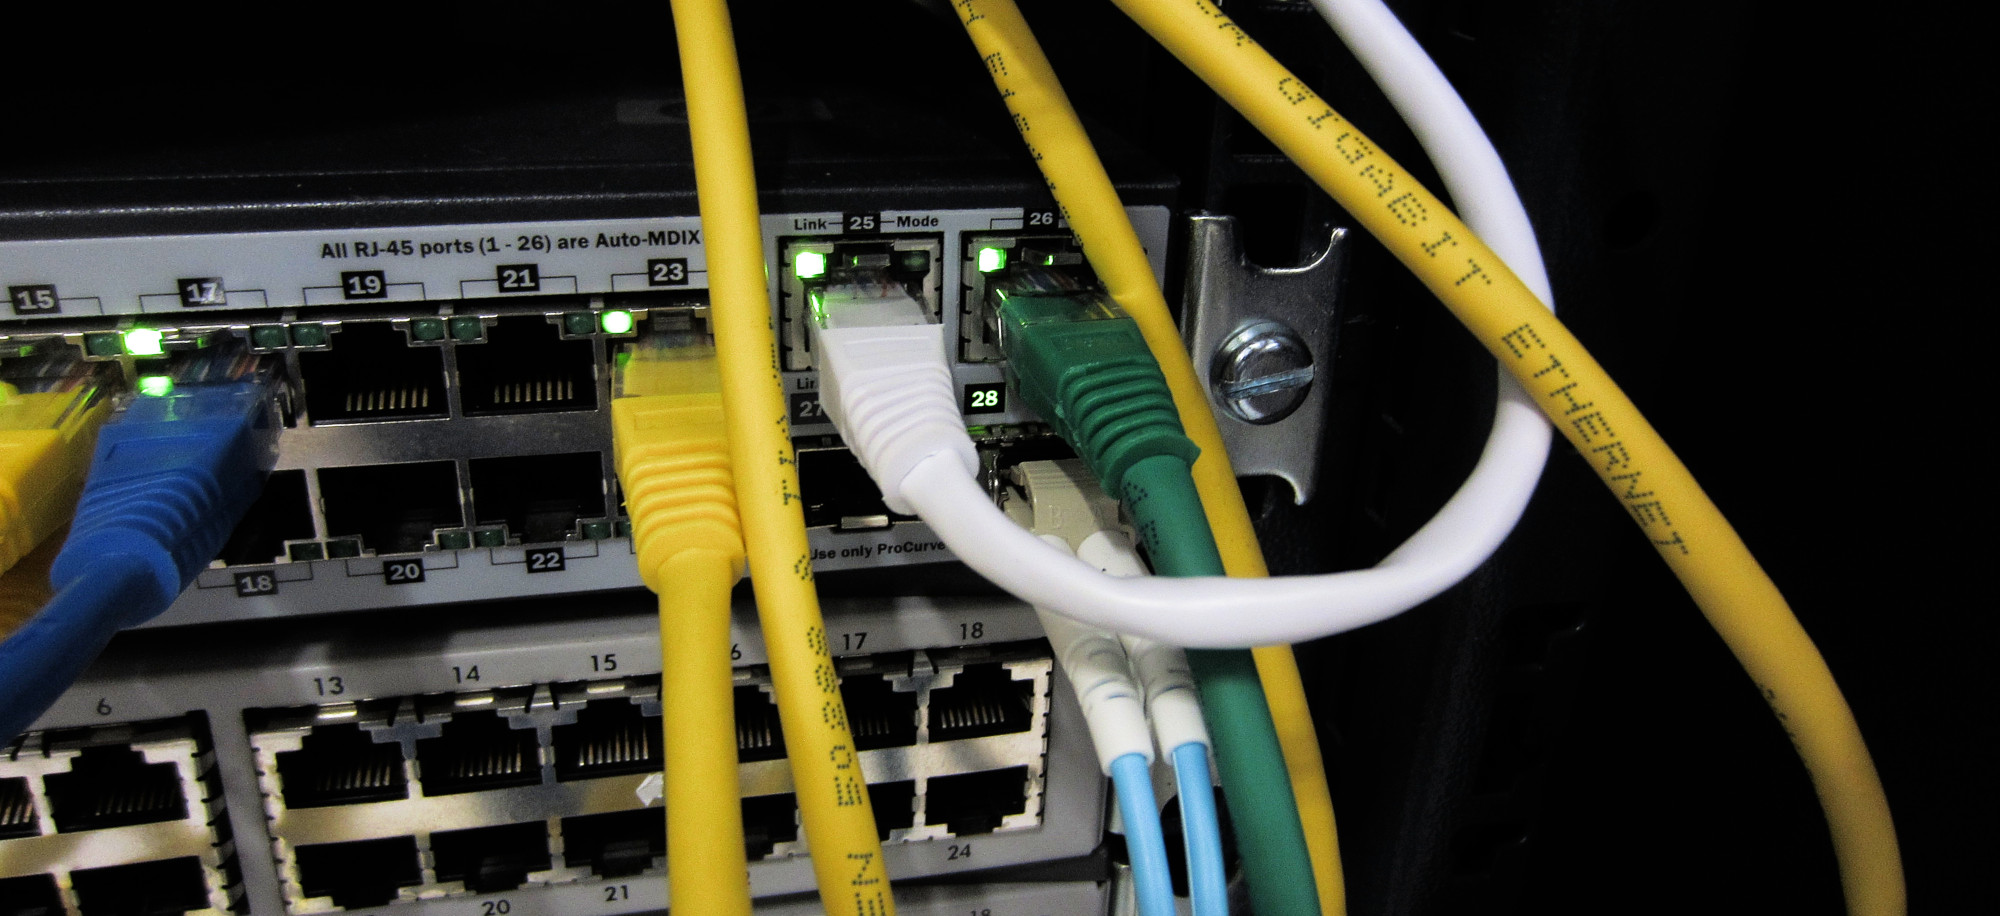
Figure 7 : cables
Task : can you see the number bytes transferred across each port, can you find what ports have been combined into a Trunk using LACP? For more information of trunks see this video: HP Networking Configuration and Demo -LACP on HP Enterprise Switches:(Video)
Task : can you find the IP address and MAC address of the switch? Can you find the switches ARP table i.e. a list of MAC addresses this switch has communicated with? Hint, you may have to exit the menu system and use the command line commands to discover some of this information.
TODO : for me or a willing volunteer setup the two servers shown in figure 8.
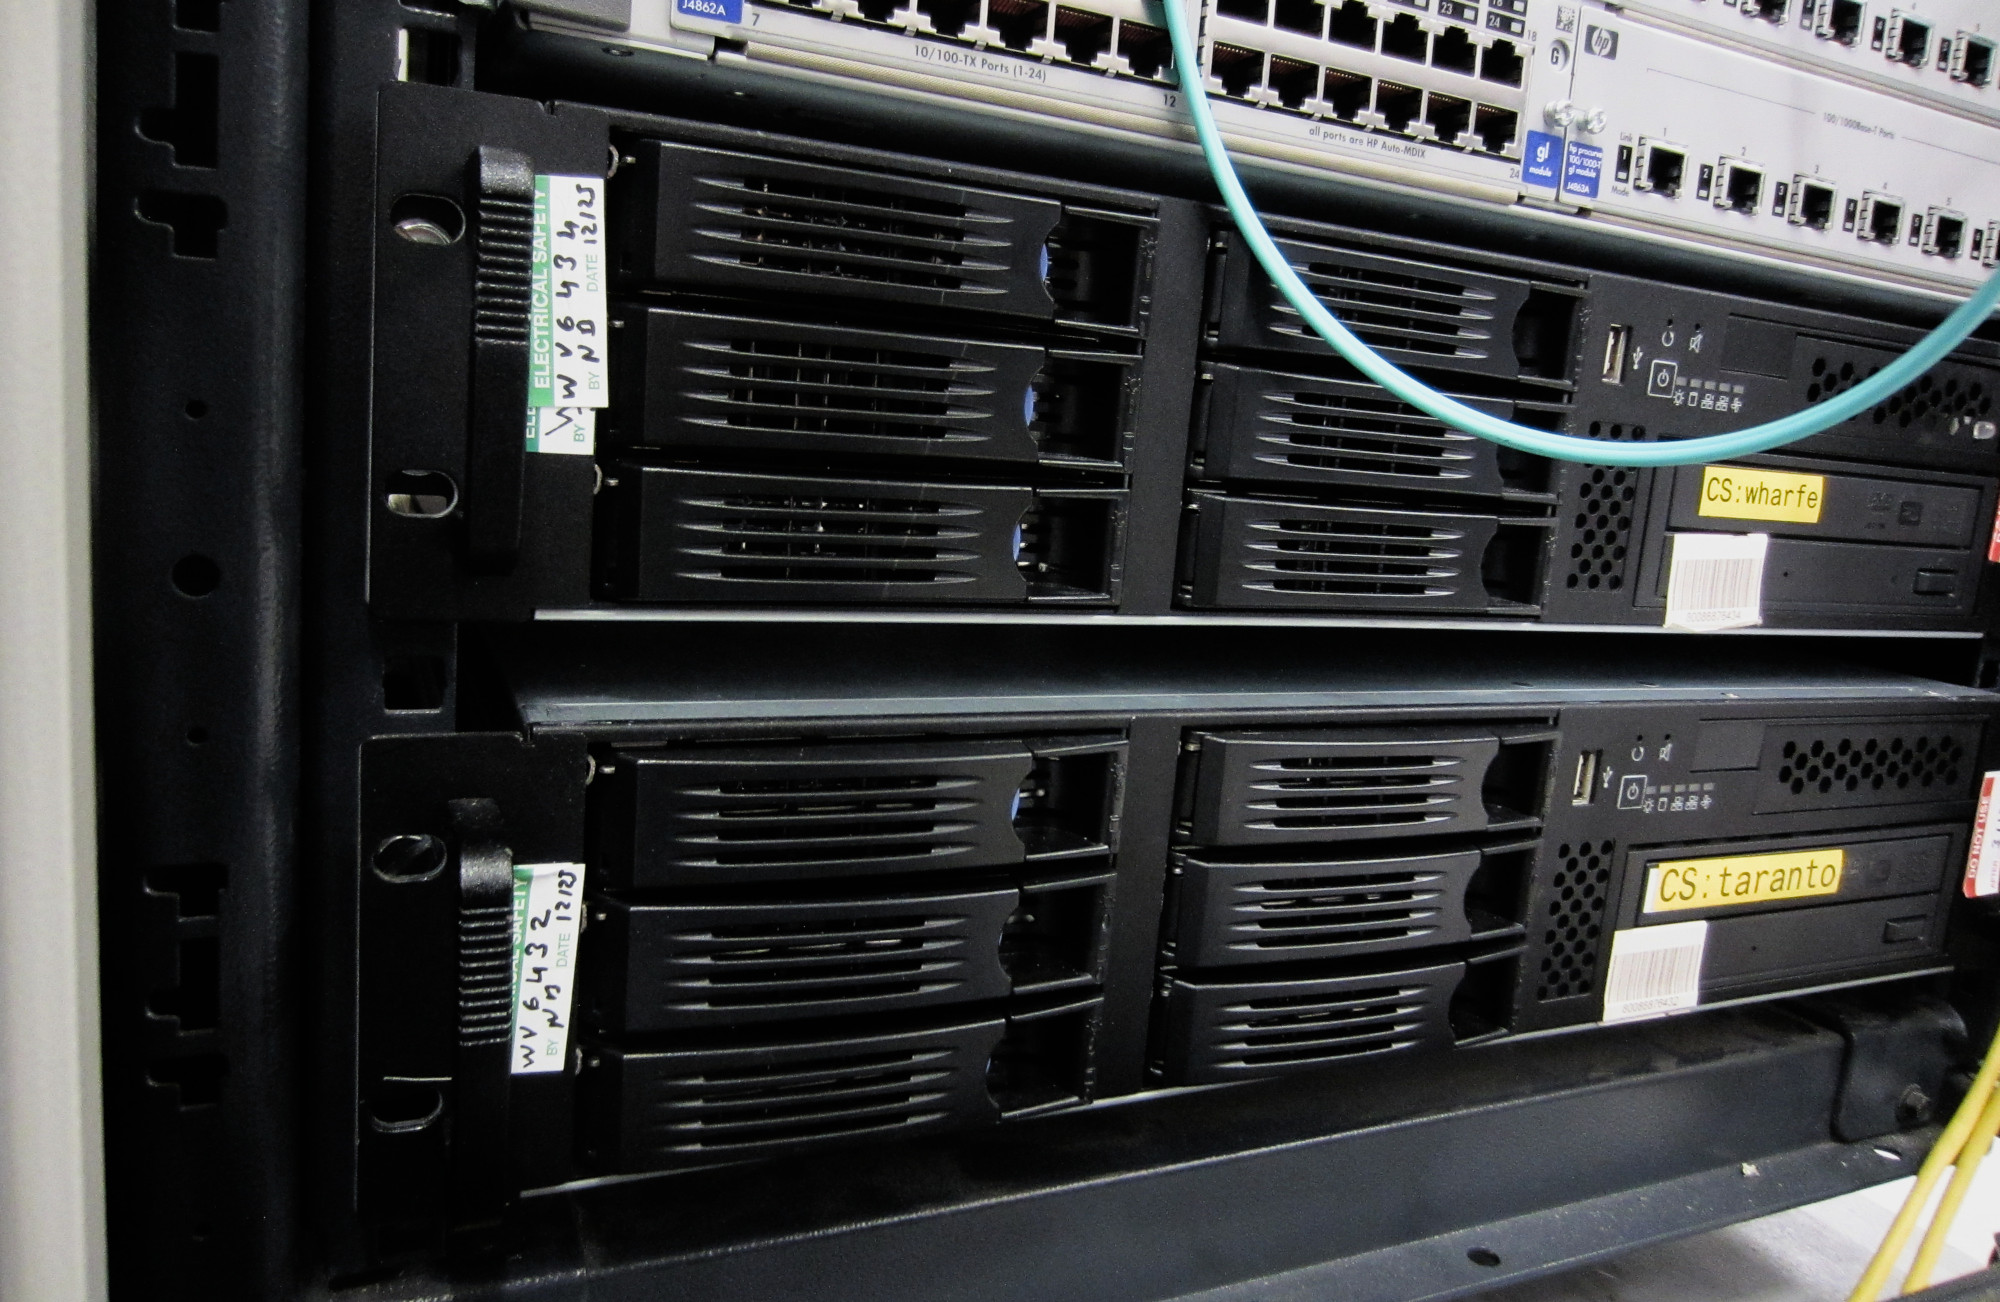
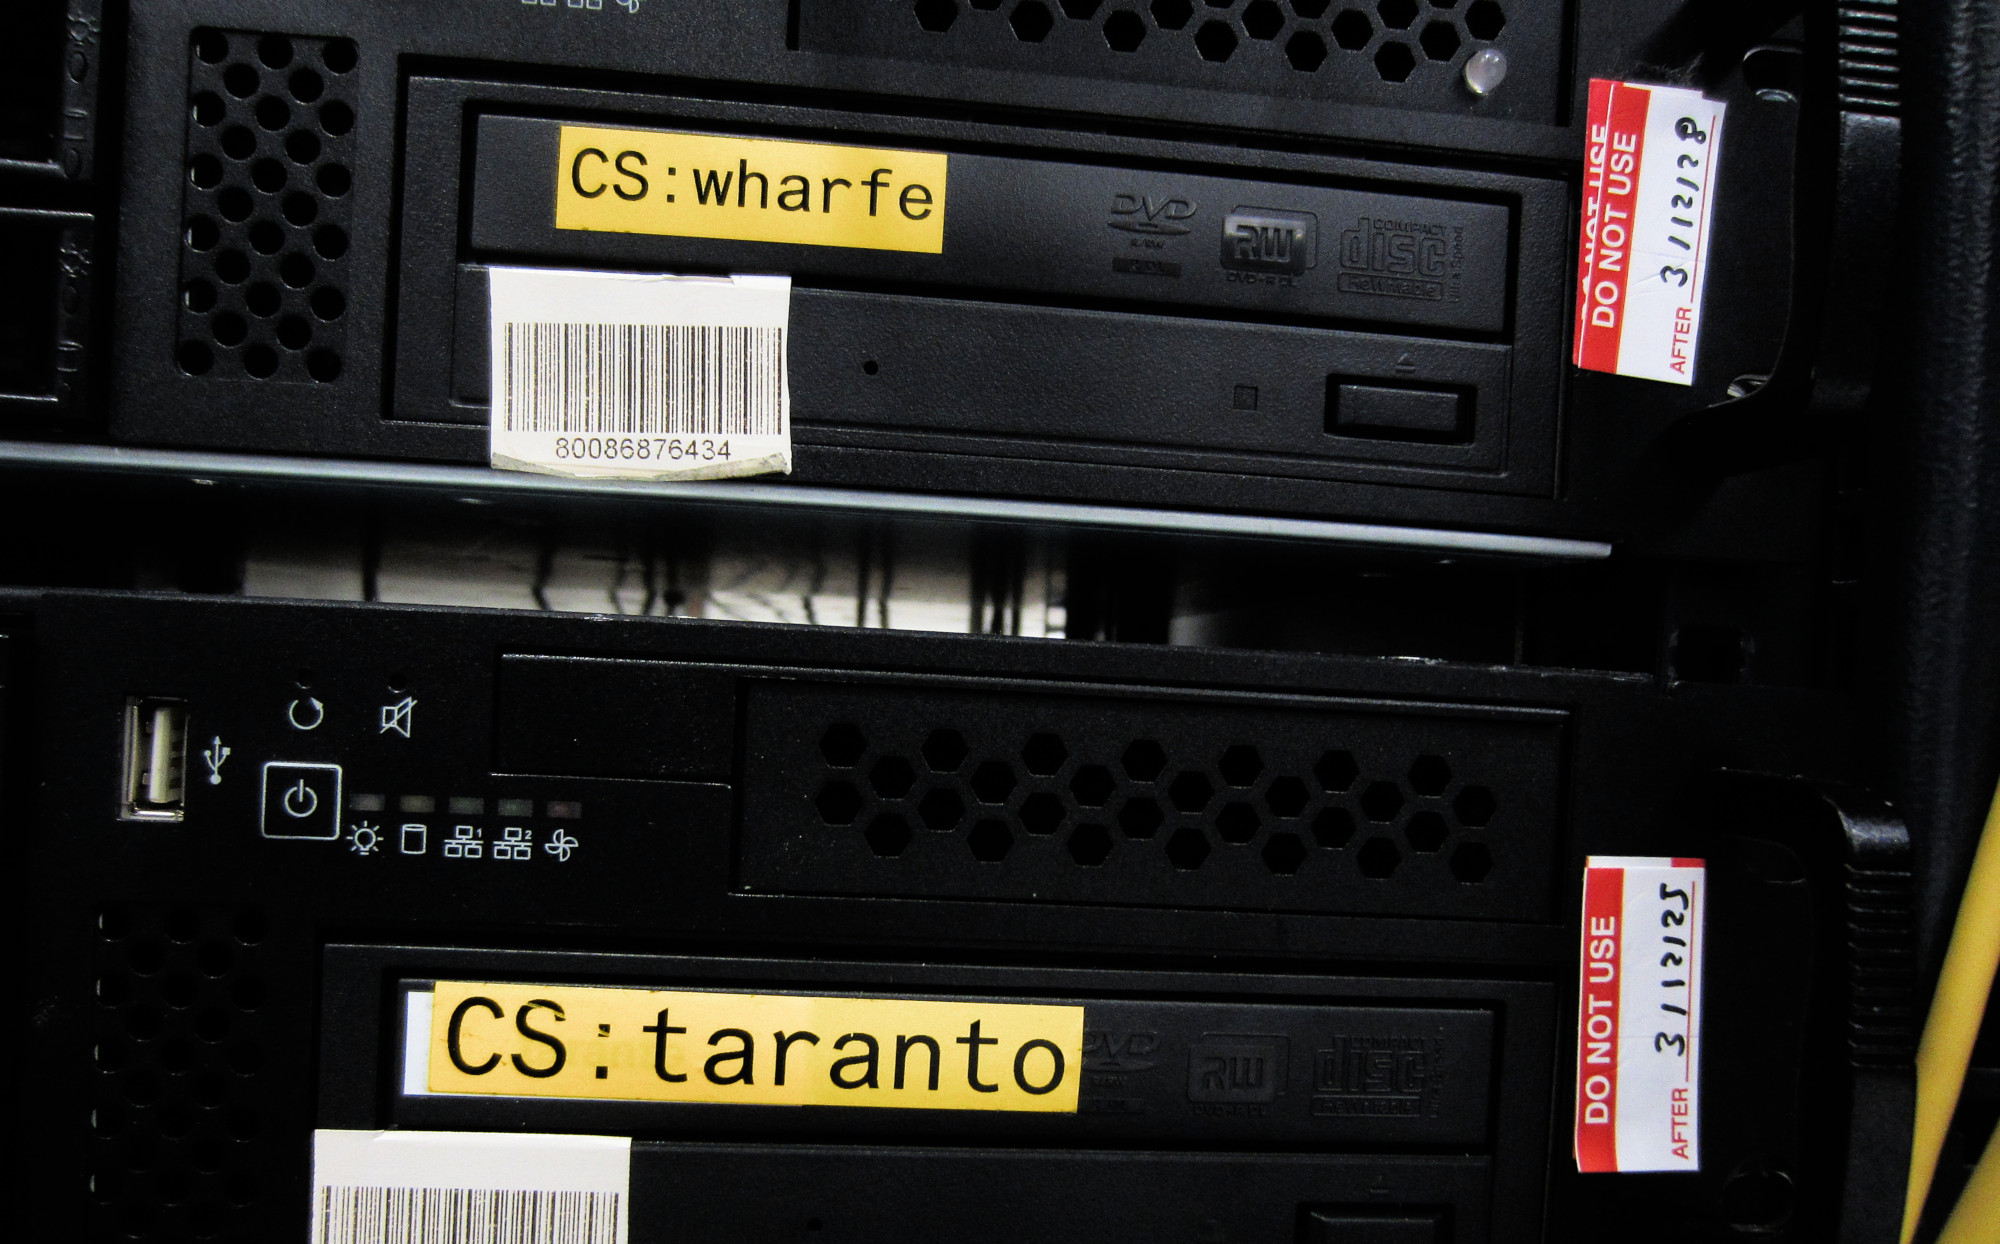
Figure 8 : servers

This work is licensed under a Creative Commons Attribution-NonCommercial-NoDerivatives 4.0 International License.
Contact email: mike@simplecpudesign.com